Punch needle embroidery: Cute, cozy projects for cold nights
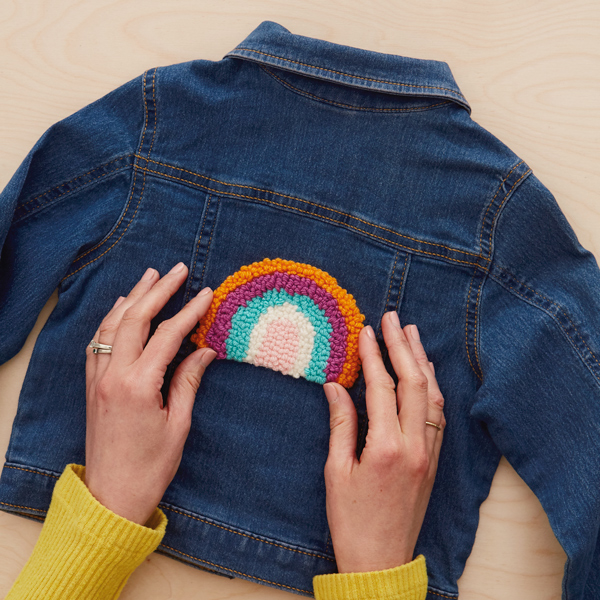
There’s something satisfying and deeply therapeutic about needle punch crafts: They’re easy, repetitive and immediately gratifying. Plus, with a small project and simple design like the ones below, it only takes a few hours to end up with needle punch patches that are wearable, frameable or giftable.
We asked textile design expert Keda M. to teach us some needle punch basics. Follow along to create your own adorable, fuzzy needle punch patches to adorn jean jackets, tote bags and more.
Inspired? Create and share by tagging @HallmarkStores.
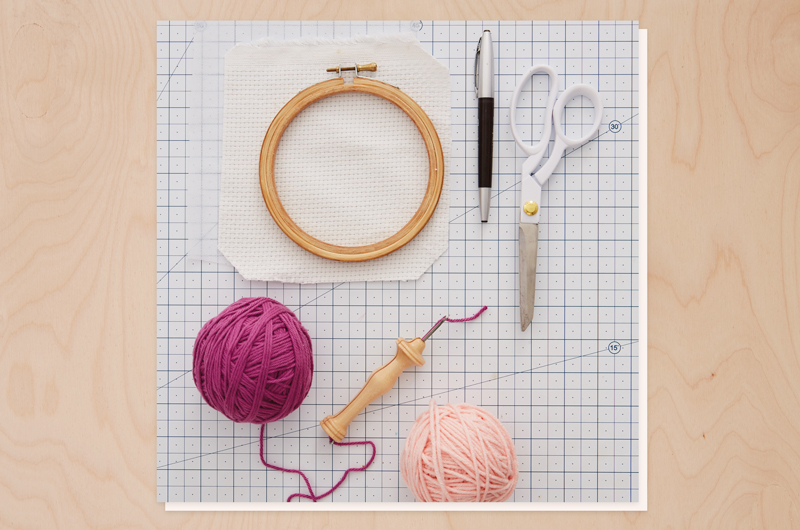
What you’ll need:
- Size 13 Oxford needle
- 5 ounces yarn in your desired colors
- Fabric scissors
- Embroidery hoop: You’ll want one bigger than your patch on all sides.
- Fabric marker or Sharpie
- Monk’s cloth: You can use many different materials for needle punching, but evenweave fabrics make it extra simple. Wash and dry your fabric before starting.
- Lightweight fusible interfacing: It makes the fabric easier to punch through and gives you a smooth surface to draw the pattern.
- Iron-on adhesive or fabric fuse sheets (if making patches)
If you do embroidery, cross stitch or needlepoint, you probably have most of these supplies handy. If not, they’re easy to find or order online and are usually inexpensive.
How to make needle punch patches
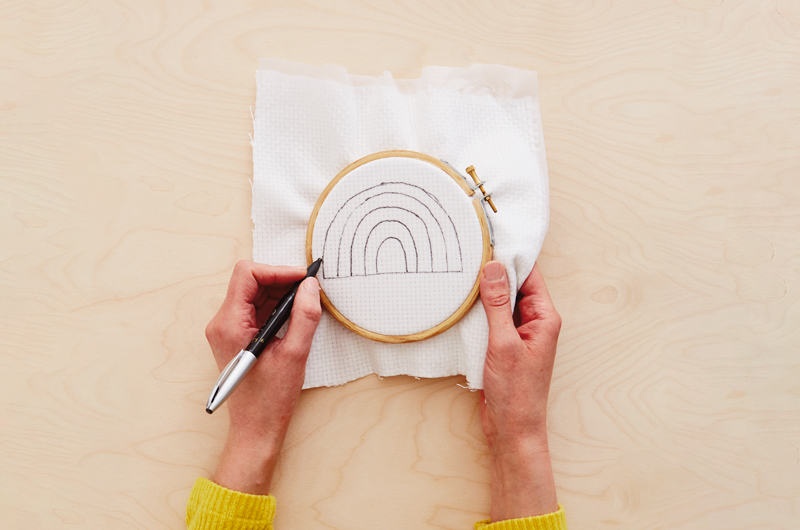
First, prep your fabric.
Following the instructions on your interfacing, iron it to your monk’s cloth.
Put the ironed fabric in your embroidery hoop with the design (which will be the back of your patch) on top, facing up. Make sure it’s pulled tight and even.
If you’re tracing your design, you can do it right onto the fusible interfacing. If you’re freehanding it, draw it after you’ve stretched the fabric in the embroidery hoop.
Important note: You’ll be needling through the back of the fabric—so the loops of yarn don’t get crushed—so remember your finished patch will be a reverse image.
Pro tip: If your design is too intricate, you might lose some detail. Keep it big and simple, especially when you’re starting out. We recommend art without lots of tiny details—iconic images like rainbows, flowers, coffee cups, etc.
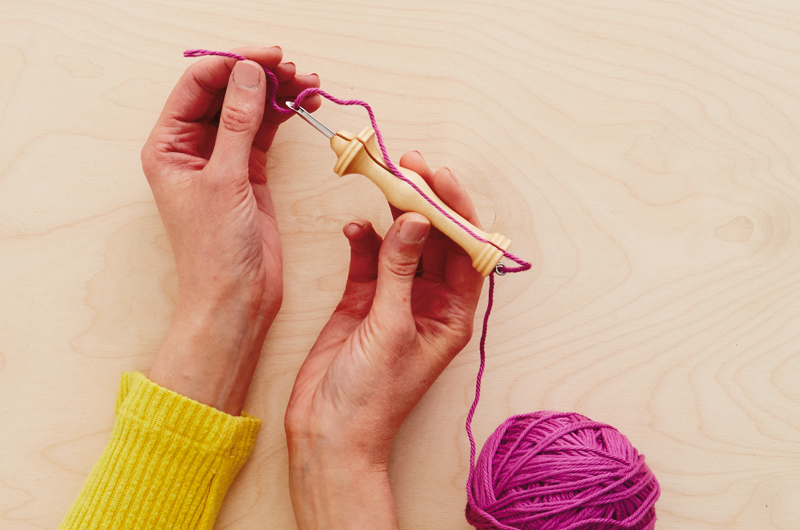
Next, thread your needle.
Unlike sewing needles, Oxford needles are easy to thread. Starting at the bottom, thread your yarn through the metal loop, towards the slot in the handle. Pull it through the slot and through the eye of the needle.
Pro tip: Thicker yarn means you’ll need a bigger needle—and fabric with a more open weave. Keep that in mind when choosing yarn.
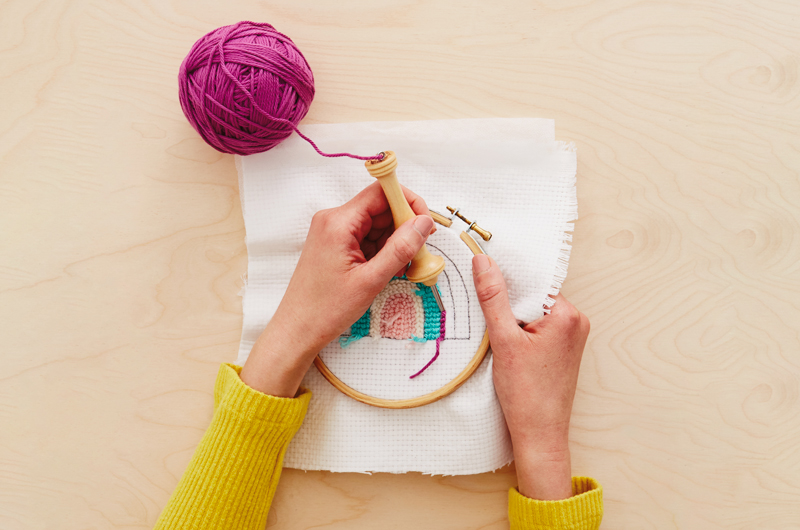
Then get to needle punching!
To start, hold about an inch-long tail of the yarn down with your thumb, and punch the needle through an opening in the weave of your fabric. You’ll want the slot on the needle facing the direction you’re moving.
Lift the needle back up through the fabric, slide it to the next opening and punch it through. Don’t let the tip of the punch needle come off the surface of the fabric as you move from one punch to the next.
The direction you move to fill in your design is up to you, based on the design and whether you’re right- or left-handed. You can outline and fill it in or go row by row—whatever helps you feel the flow.
To change colors, cut the yarn—leaving about a half-inch tail—and move on. There’s no need to knot or finish anything off.
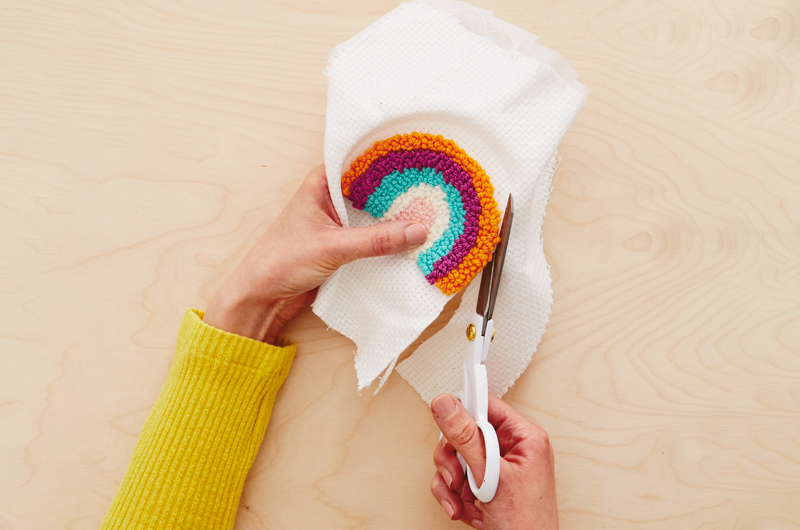
Cut out your needle punch design.
Take your design out of the embroidery hoop and trim any straggly yarn.
Before you cut the cloth, follow the instructions to carefully adhere the iron-on adhesive or fabric fuse sheets to the back. Added benefit: It’ll secure your loops so they don’t pull out.
Don’t get too close to the needle punch loops when you’re cutting—you’ll need a little fabric around the edges to hold it all together.
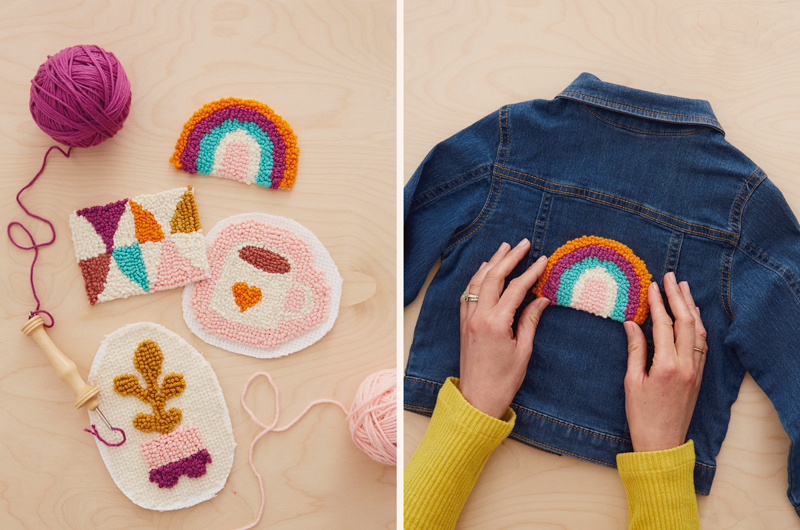
If creating an iron-on patch, peel the backing off the iron-on adhesive and iron it on to your jacket or bag.
If you’re heat-fusing it, apply the iron on the garment or tote side—not the yarn—so you don’t crush the beautiful loops you created. You can always pin the patch on before turning it over and ironing it to help secure it in place.
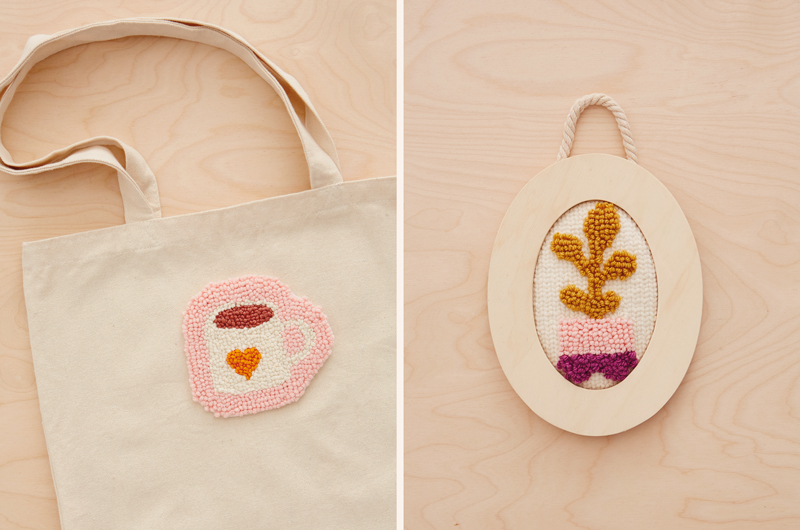
HOW. CUTE. IS. THIS. TOTE.
Also, if you’re framing your lovely creation, you don’t have to add the iron-on adhesive. But you probably figured that out!
With these tips, you’re one step closer to becoming a needle punch embroidery expert and the coolest gift-giver at any party. Personalized patches made with love? Yes, please!
Need more cool ideas to craft your heart out? Check out some of our faves:
Shop Arts & Crafts
See allYou may also like
See more-

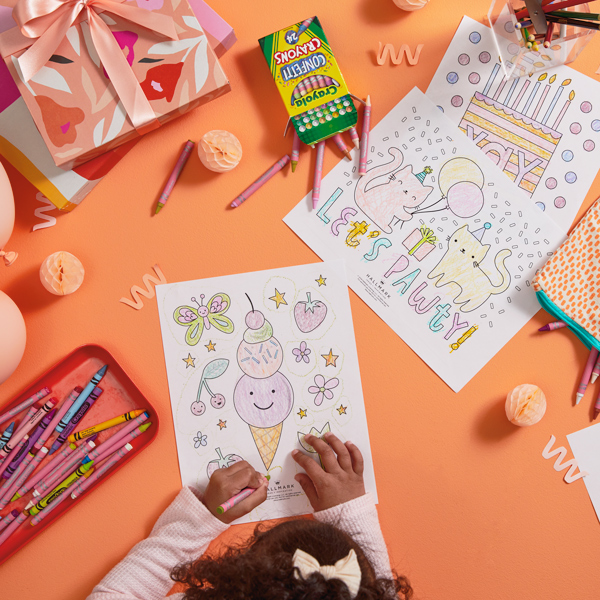
Birthday Free birthday coloring pages to add more fun to the celebration
The best birthdays are the ones filled with lots of little treats and fun activities, from sunup to sundown. If you’r...
-
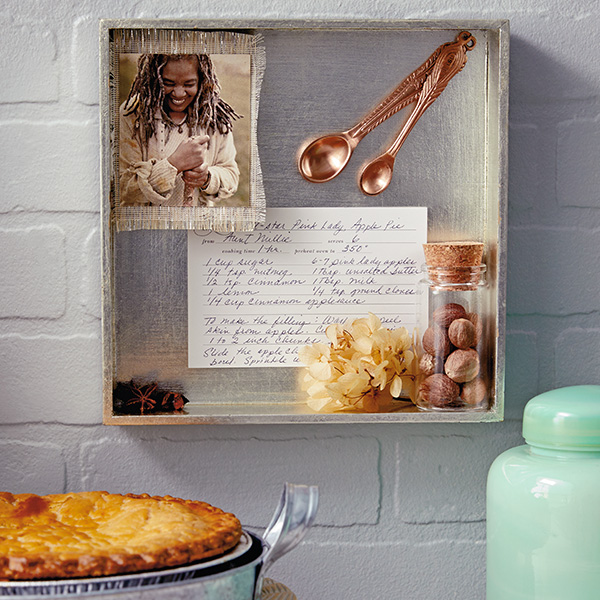
Family Tips and ideas for preserving and displaying family recipes
Family recipes are a special kind of priceless heirloom—the kind that transport us back to our favorite times with ou...
-
Mother's Day Meaningful, personal Mother's Day gift ideas for every mom you know
It can be tough to come up with gift ideas for Mom. Most of us want to give her something meaningful: a gift that sho...
-
Father's Day Celebrating two dads on Father's Day: Tips and ideas inspired by real families
As a dad, I appreciate Father’s Day. Even though my family has never made a really big deal out of it, it’s always so...
-
Thank You 100+ teacher appreciation gift ideas to say “thanks for all you do!”
In 6th grade, my homeroom teacher made us illustrated, laminated bookmarks—each one a custom collage of our interests...
-
Christmas Dr. Finkelstein’s Lab Tree Topper
Fans of Disney Tim Burton’s The Nightmare Before Christmas, we have a frightfully fun new addition for your tree! Kee...
-
Graduation Graduation gift ideas for every level of education
My little brother starts kindergarten this year, and I’m already bracing myself for the tears—mine, not his. I know t...
-
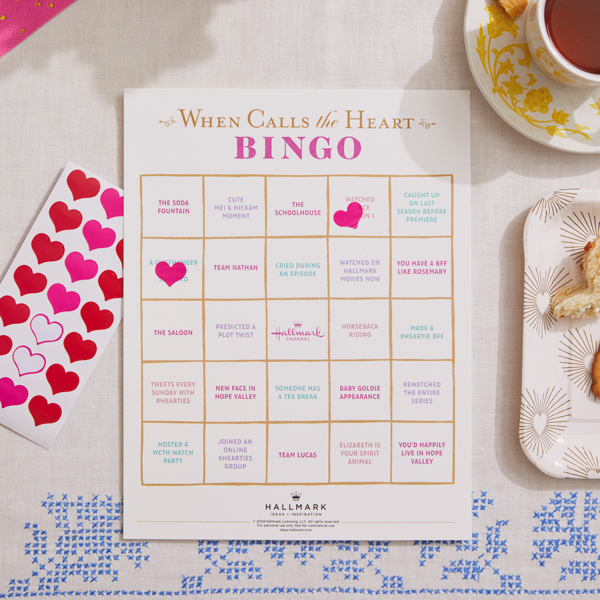
Lifestyle Free printable When Calls the Heart Bingo card to celebrate the Season 11 premiere!
Who's ready for a Heartie Party? You know we are! So much so, we created a bingo card to add a whole extra layer of f...
-
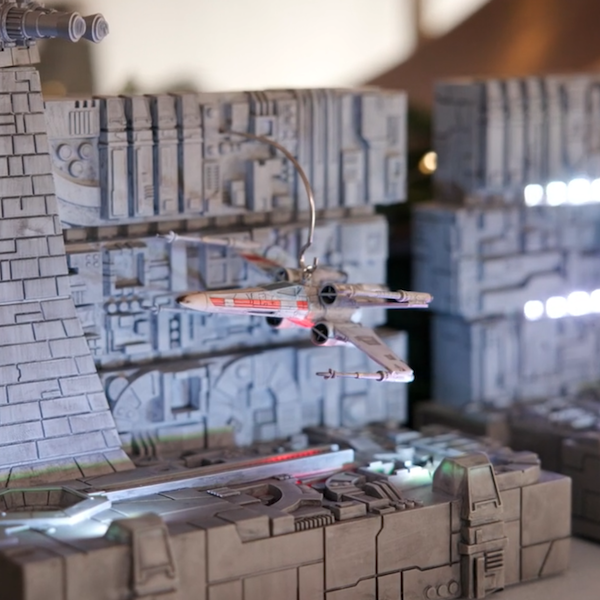
Christmas Star Wars: A New Hope™️ Collection
You don’t have to travel to a galaxy far, far away to experience an epic adventure! Each stocking holder performs sce...
-
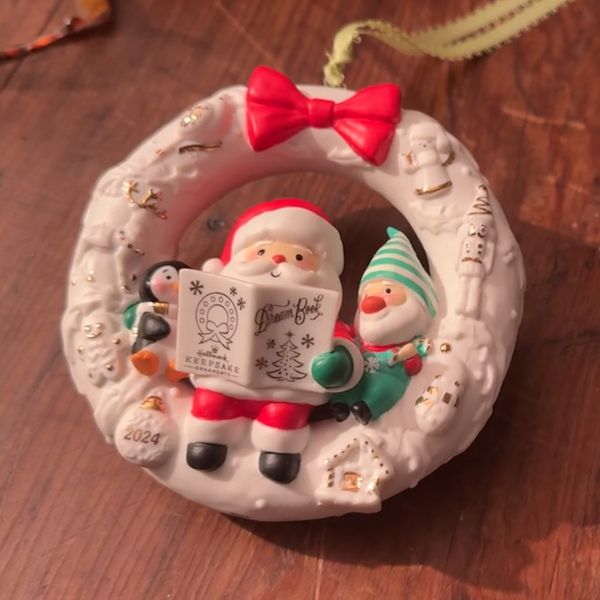
Christmas Wreath of Memories Keepsake Ornament
Get a special behind-the-scenes look at how Keepsake Artists Gregor Benedetti and Rob Stanphill collaborated on the d...
-
Christmas Howliday Helpers First in Series Keepsake Ornament
Do you want the inside scoop on an im-paws-ibly cute new series? We’ll throw you a bone—Keepsake Artist Sharon Visker...
-
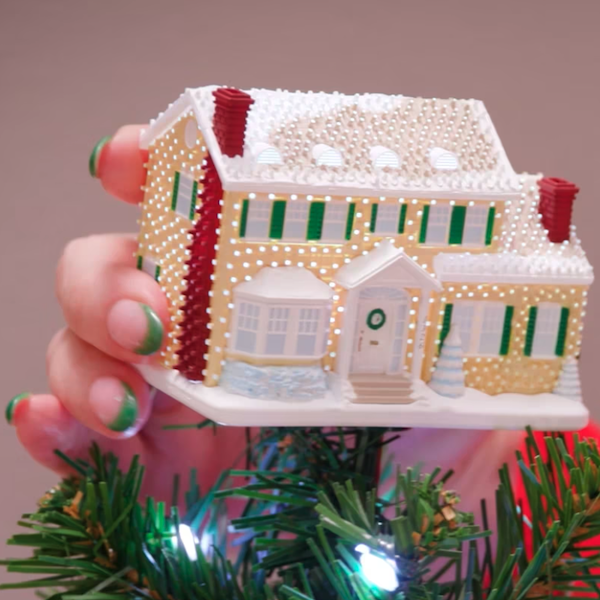
Christmas Keepsake Ornaments ShowToppers Mini Collection
We’re so excited to introduce our new ShowToppers collection. Featuring three unique designs, each tree topper is int...
-
Christmas Keepsake Ornaments North Pole Village Table Decoration
Keepsake Artist Sharon Visker is here with a special delivery of Christmas magic! Hear how she brought this bustling ...
-
Christmas Harry Potter and the Chamber of Secrets™️ Storytellers Collection
Ready for a little magic? Featuring light, sound and real dialogue from the movie, Harry, Dobby, Ron, Hermione and th...
-
Christmas Disney The Haunted Mansion Collection
Welcome, foolish mortals, to the Haunted Mansion! Featuring interactive light, music and dialogue from the classic Di...
-
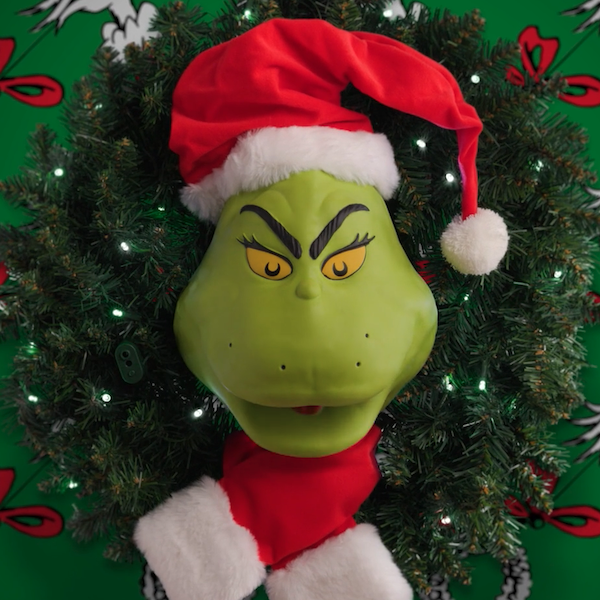
Christmas The Grinch Wreath
This amazing motion-activated wreath may not steal Christmas, but it’ll definitely steal the show! Complete with ligh...
-
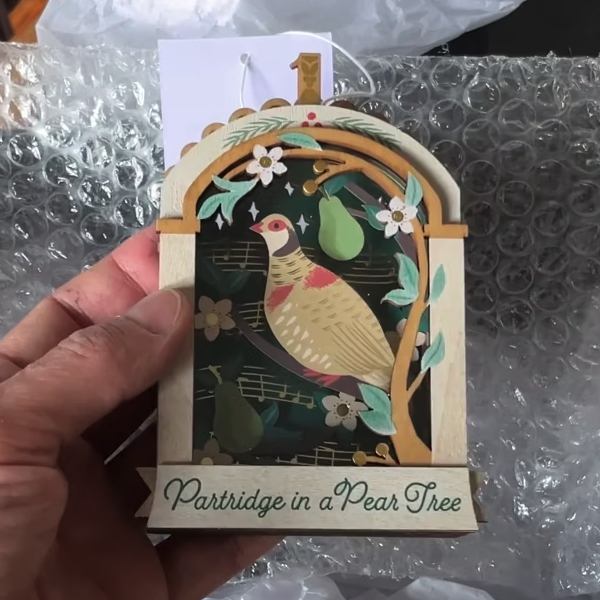
Christmas Twelve Days of Christmas First in Series Keepsake Ornament
Watch as Keepsake Artist Gregor Benedetti and Senior Design Technician R.J. Stebbins collaborate on the first ornamen...
-
Christmas Christmas Is… First in Series Keepsake Ornament
Keepsake Artist Tim Bishop didn’t have to go too far to find inspiration for his first Keepsake Ornament series. Duri...
-
Christmas Cup of Cozy First in Series Keepsake Ornament
Sugar and spice and everything nice, that’s what the new Cup of Cozy series is made of! Hear how Keepsake Artist Iman...
-
Arts, Crafts & DIY 9 DIY memory box ideas to keep special days close at heart
Every incredible trip, amazing party and huge milestone comes with its own unique memories and little objects worth h...