Ridiculously easy (and cheap) DIY fall decor
You know that thing where the season changes and you want to tweak your decorations a little—just so you feel it? These two DIY fall decor pieces just take a few craft supplies and a little time, and the artwork and garland you create will add a touch of autumn to any corner of your home.
Inspired? Create and share by tagging @HallmarkStores.
A quick hint before we start: Yes, this is DIY “fall decor.” But you can change up the color palette and the decorations work for any season or setting at all.
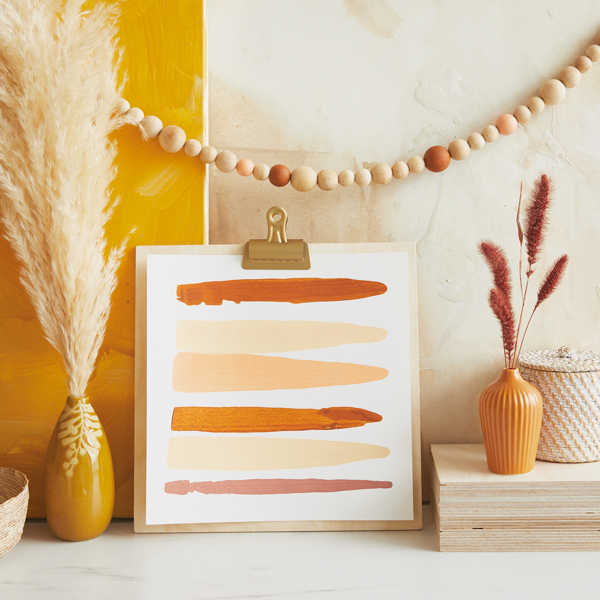
How to make the painted stripes art
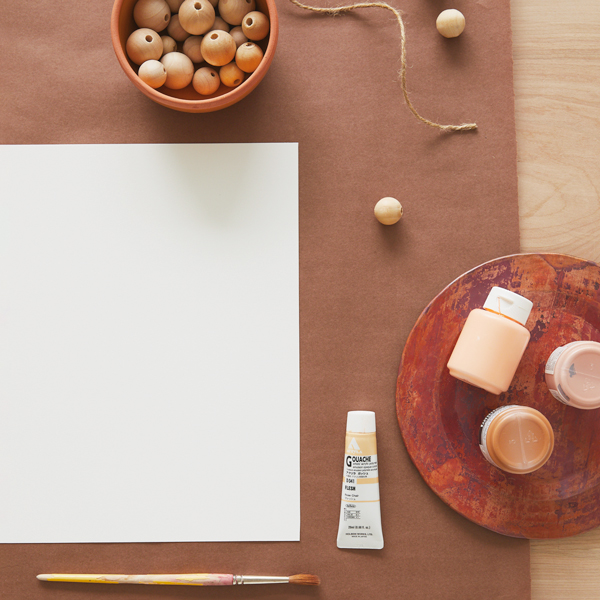
What you’ll need:
• Sheet of watercolor paper
• Index cards
• 4-6 colors of acrylic paint in complementary or contrasting colors (get inspiration from a favorite piece of art, fabric, an outfit, a poster or the colors in your room)
• Paintbrush (optional)
• Display option 1: Sheet of plywood about 1″ longer and 1″ wider than the watercolor paper and a bulldog or binder clip
• Display option 2: Clipboard larger than the watercolor paper
• Display option 3: Wooden clamp pant hanger
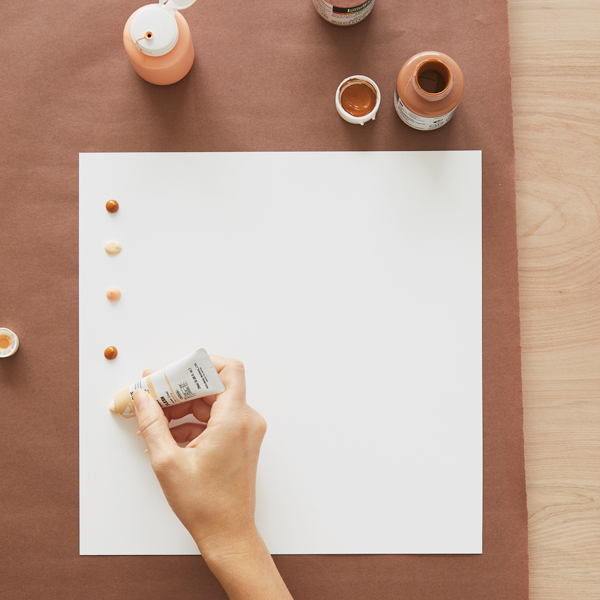
Squeeze some dots of paint down one side of the watercolor paper, about an inch from the edges and an inch apart.
Pro tip: It’s not a bad idea to test this one out on some less fancy paper first—just to get the size of the dots and the distance right.

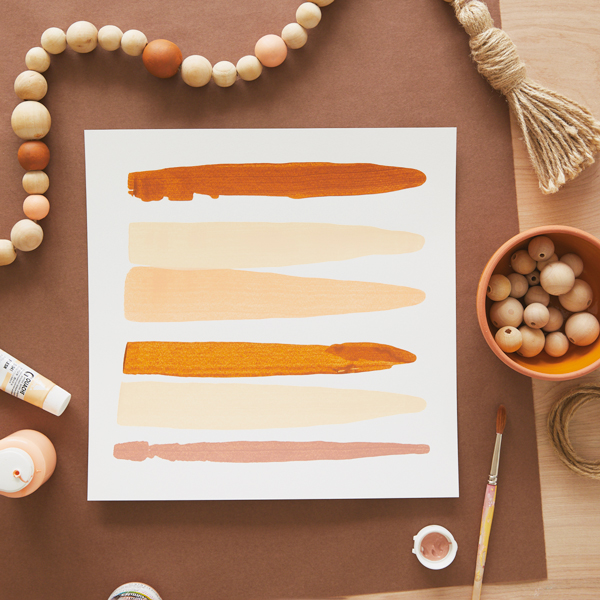
Hold an index card perpendicular to the watercolor paper, just outside of the paint. (Make sure the dots are completely inside the index card—you may have to tape two cards together to cover them all.)
Grab the edge of the watercolor paper and drag the index card—and the paint with it—all the way across the page.
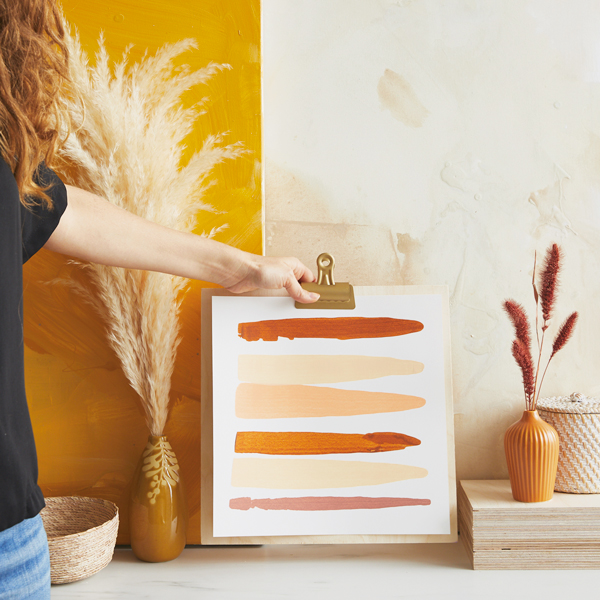
Touch up the stripes with a paintbrush if you’d like. Once the paint is dry, display the piece using one of the options listed above.
How to make the bead garland
What you’ll need:
• Unfinished wooden beads in a few different sizes
• Jute twine that fits through the beads
• Acrylic paint (use the same colors as you use for the painted stripes)
• Thin masking tape
• Jar
• Paintbrushes
• Scissors
Decide how long you want your garland to be and cut a piece of jute twine about 3 inches longer than that.
Lay the twine on a table and line up beads next to it to get the arrangement you’d like.

Paint some or all the beads. For a little variation, you can try any of the following:
• Paint beads with solid colors.
• Mask parts of the beads to add stripes or color blocking.
• Add dots with the tip of a paintbrush.
Pro tip: Fit the bead on the handle of a paintbrush while you’re painting to keep your fingers tidy, then rest the paintbrush in a jar to dry.

Make an overhand loop knot in one end of the twine and begin stringing the beads.
When you get to the end, make another overhand loop knot.
If want to add another finishing touch, make an oversize tassel for each end using more of the twine.
This video will show you how: Just wrap the neck with much more jute and for far longer than feels reasonable to get this lovely chunky effect.
Now it’s time to make your vignette: Stage your DIY Fall Decor somewhere you can admire them every day.
Pro tip: Pampas grass is a trendy fall accessory for your vases. With its rise in popularity, it’s become super easy to find online or in craft stores.
Shop Fall Decor
See allYou may also like
See more-

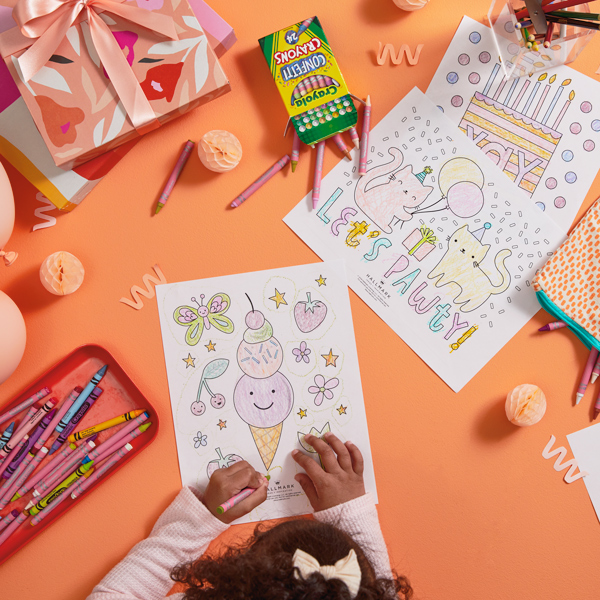
Birthday Free birthday coloring pages to add more fun to the celebration
The best birthdays are the ones filled with lots of little treats and fun activities, from sunup to sundown. If you’r...
-
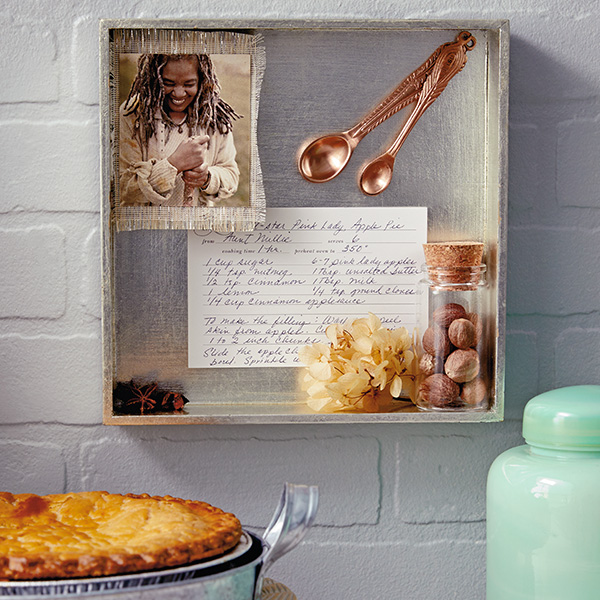
Family Tips and ideas for preserving and displaying family recipes
Family recipes are a special kind of priceless heirloom—the kind that transport us back to our favorite times with ou...
-
Mother's Day Meaningful, personal Mother's Day gift ideas for every mom you know
It can be tough to come up with gift ideas for Mom. Most of us want to give her something meaningful: a gift that sho...
-
Father's Day Celebrating two dads on Father's Day: Tips and ideas inspired by real families
As a dad, I appreciate Father’s Day. Even though my family has never made a really big deal out of it, it’s always so...
-
Thank You 100+ teacher appreciation gift ideas to say “thanks for all you do!”
In 6th grade, my homeroom teacher made us illustrated, laminated bookmarks—each one a custom collage of our interests...
-
Christmas Dr. Finkelstein’s Lab Tree Topper
Fans of Disney Tim Burton’s The Nightmare Before Christmas, we have a frightfully fun new addition for your tree! Kee...
-
Graduation Graduation gift ideas for every level of education
My little brother starts kindergarten this year, and I’m already bracing myself for the tears—mine, not his. I know t...
-
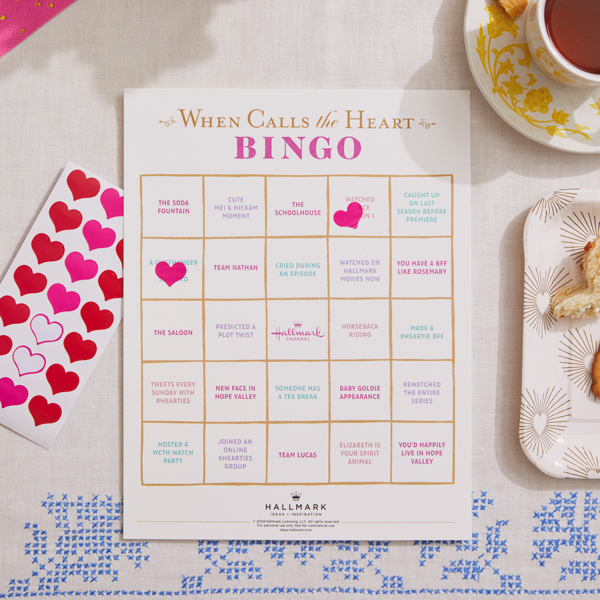
Lifestyle Free printable When Calls the Heart Bingo card to celebrate the Season 11 premiere!
Who's ready for a Heartie Party? You know we are! So much so, we created a bingo card to add a whole extra layer of f...
-
Christmas Star Wars: A New Hope™️ Collection
You don’t have to travel to a galaxy far, far away to experience an epic adventure! Each stocking holder performs sce...
-
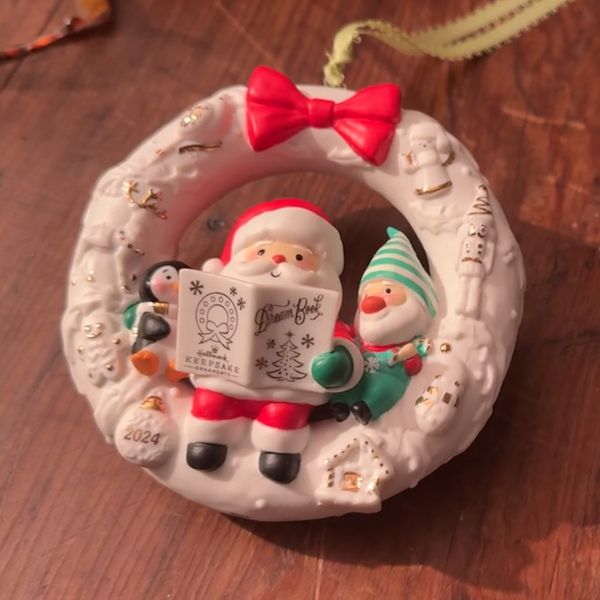
Christmas Wreath of Memories Keepsake Ornament
Get a special behind-the-scenes look at how Keepsake Artists Gregor Benedetti and Rob Stanphill collaborated on the d...
-
Christmas Howliday Helpers First in Series Keepsake Ornament
Do you want the inside scoop on an im-paws-ibly cute new series? We’ll throw you a bone—Keepsake Artist Sharon Visker...
-
Christmas Keepsake Ornaments ShowToppers Mini Collection
We’re so excited to introduce our new ShowToppers collection. Featuring three unique designs, each tree topper is int...
-
Christmas Keepsake Ornaments North Pole Village Table Decoration
Keepsake Artist Sharon Visker is here with a special delivery of Christmas magic! Hear how she brought this bustling ...
-
Christmas Harry Potter and the Chamber of Secrets™️ Storytellers Collection
Ready for a little magic? Featuring light, sound and real dialogue from the movie, Harry, Dobby, Ron, Hermione and th...
-
Christmas Disney The Haunted Mansion Collection
Welcome, foolish mortals, to the Haunted Mansion! Featuring interactive light, music and dialogue from the classic Di...
-
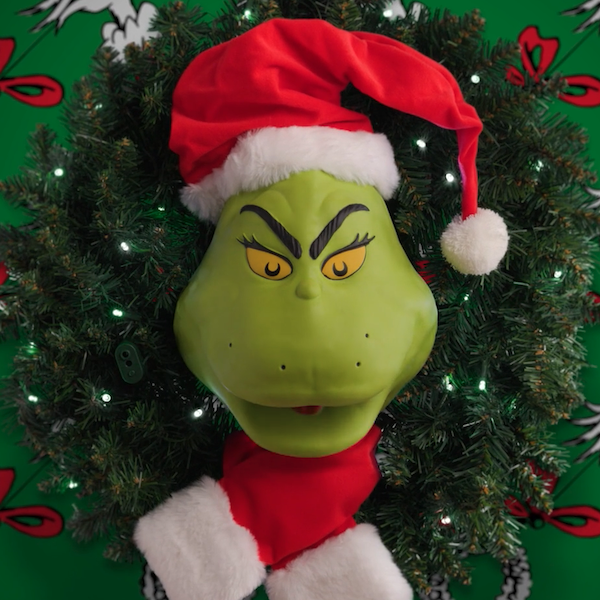
Christmas The Grinch Wreath
This amazing motion-activated wreath may not steal Christmas, but it’ll definitely steal the show! Complete with ligh...
-
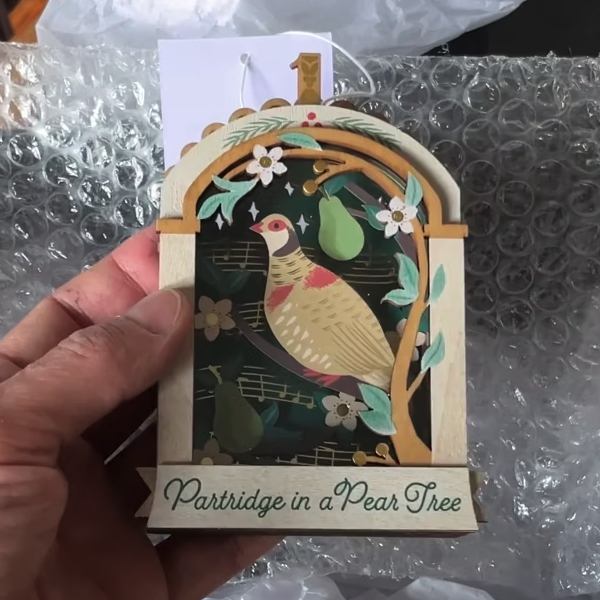
Christmas Twelve Days of Christmas First in Series Keepsake Ornament
Watch as Keepsake Artist Gregor Benedetti and Senior Design Technician R.J. Stebbins collaborate on the first ornamen...
-
Christmas Christmas Is… First in Series Keepsake Ornament
Keepsake Artist Tim Bishop didn’t have to go too far to find inspiration for his first Keepsake Ornament series. Duri...
-
Christmas Cup of Cozy First in Series Keepsake Ornament
Sugar and spice and everything nice, that’s what the new Cup of Cozy series is made of! Hear how Keepsake Artist Iman...
-
Arts, Crafts & DIY 9 DIY memory box ideas to keep special days close at heart
Every incredible trip, amazing party and huge milestone comes with its own unique memories and little objects worth h...