Back to school with creative lunch bag decorating ideas
As a kid, being handed a packed lunch full of my favorite snacks before school was the first step to having an awesome day. (Because who wouldn’t get excited about eating fruit snacks and chocolate pudding in the same meal?)
The only thing that might’ve made that even more special is seeing cool artwork on my lunch sacks—and showing it off to the rest of the lunch table. Surprise your own kids on a random Tuesday or add a special touch to a big day with these fun, colorful lunch bag decorating ideas.
Inspired? Create and share by tagging @HallmarkStores.
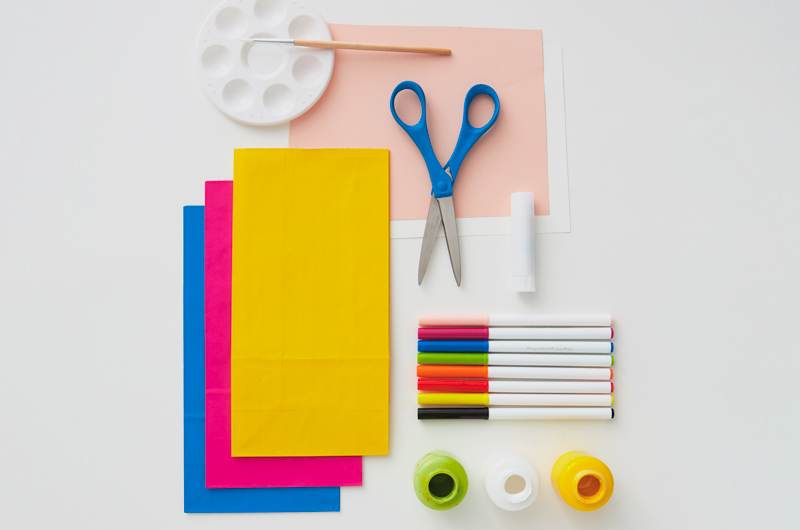
What you’ll need:
This is one of those “use what you have handy” DIYs. Here’s what we used…
- Paper lunch bags (colored or kraft brown)
- Construction paper
- Scissors
- Glue stick
- Markers
- Acrylic paint or paint markers
- Paint brush
- Paint palette
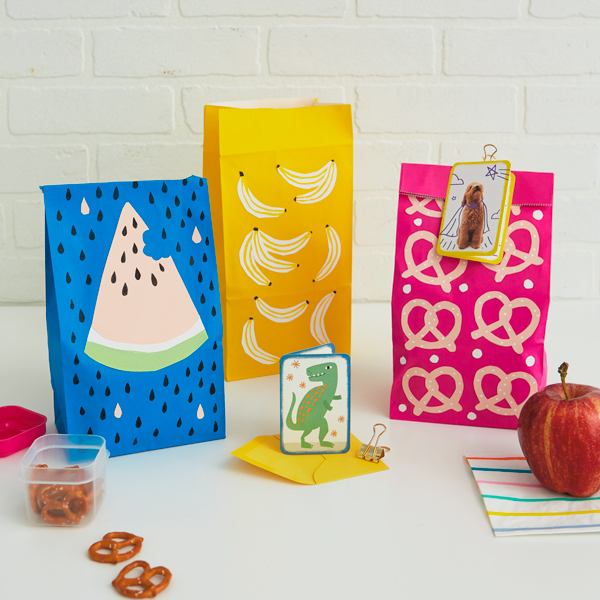
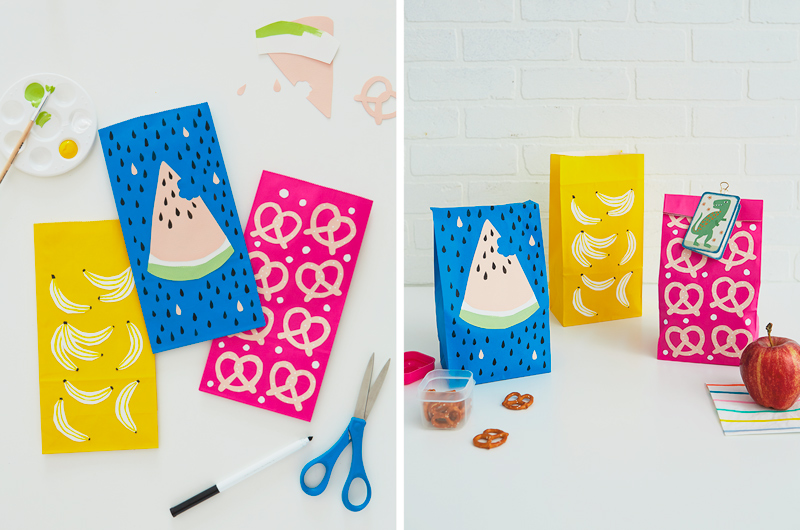
For our decorated paper lunch bags, we chose a highly appropriate theme: our favorite snacks.
Raid your craft stash for paper and paint or markers. Go bold with your color combos—adorable is more important than realistic in this case.
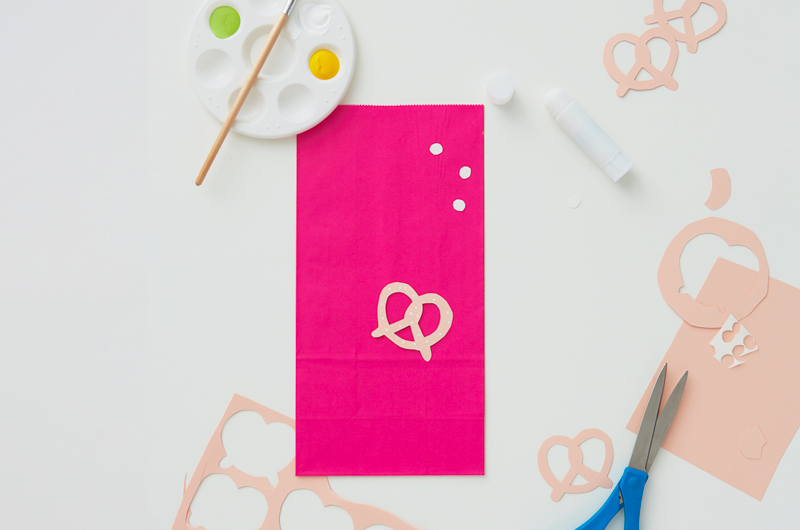
Sketch out your food on the construction paper. Best advice: Keep it simple.
Then cut out your sketches and stick everything down with a glue stick.
Pro tip: Use a craft knife to cut the centers out of the pretzels, or gently fold the paper and snip it out with pointy scissors.
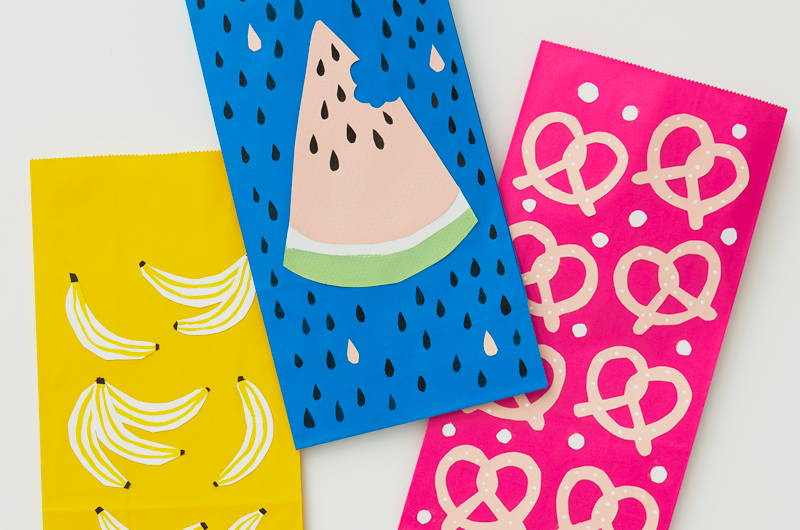
Don’t have construction paper in all the colors you want? No biggie. We used the same pink paper for the watermelon center, but switched to paint for the rind and marker for the seeds.
The bananas couldn’t be easier. Freehand the shapes, cut through a few layers of paper to make multiple bananas at once, and add details with markers.
Look at those beauties! Simple, smile-inducing and sure to brighten your kiddo’s day.
Want even more ways to make their school year one to remember? Start here:
Shop Back to School
See allYou may also like
See more-

Gifting The Office gifts and decor make WFH way more fun
From 9-5, our favorite show is The (Home) Office. 💼 📄 Add some fun to WFH with products and decor from The Office, av...
-
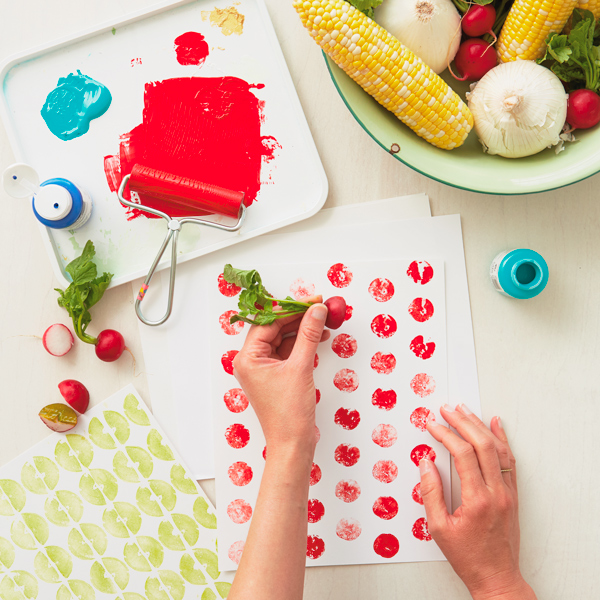
Summer Vegetable stamping: How to make simple, modern prints with produce
There are so many reasons to try fruit and vegetable stamping: It's surprisingly creative. It's easy. It uses stuff y...
-
Baby 40+ baby photoshoot ideas, tips and tricks from Hallmark photographers
You have the cutest baby in the world. There’s no contest. It’s not even a question. But what you might not have are ...
-
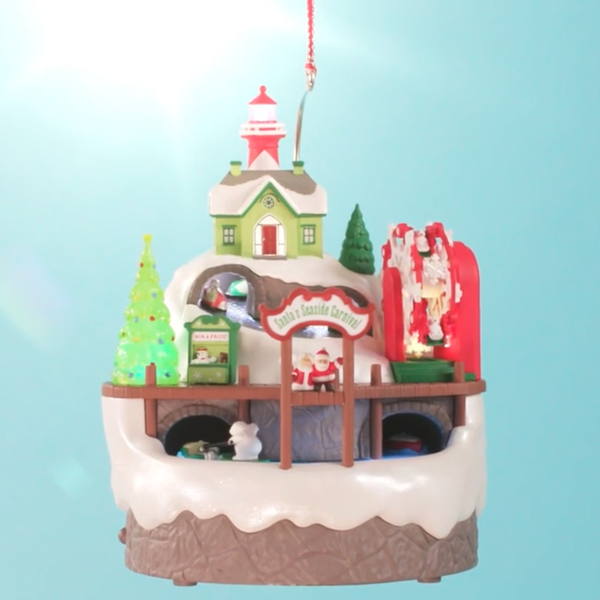
Christmas Step right up and see the Seaside Carnival Keepsake Ornament
Get ready for all the sights and sounds of Santa’s Seaside Carnival! Santa and Mrs. Claus are ready to greet visitors...
-
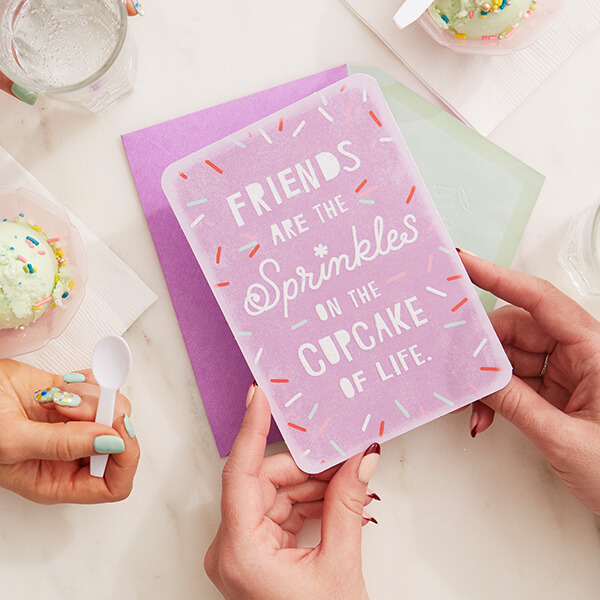
Friends Friendship messages: What to write in a friendship card
Whether it’s your friend’s birthday or just any old day, sending a card is a great way to bring a smile and nurture ...
-
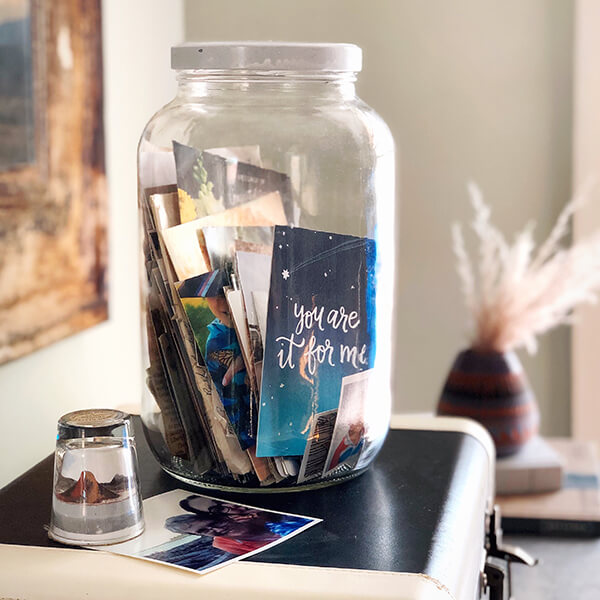
Card Ideas 17 ideas for saving your favorite cards and letters
If you’ve got a shoe box full of old cards and letters, you’re definitely not alone. People have been stashing away m...
-
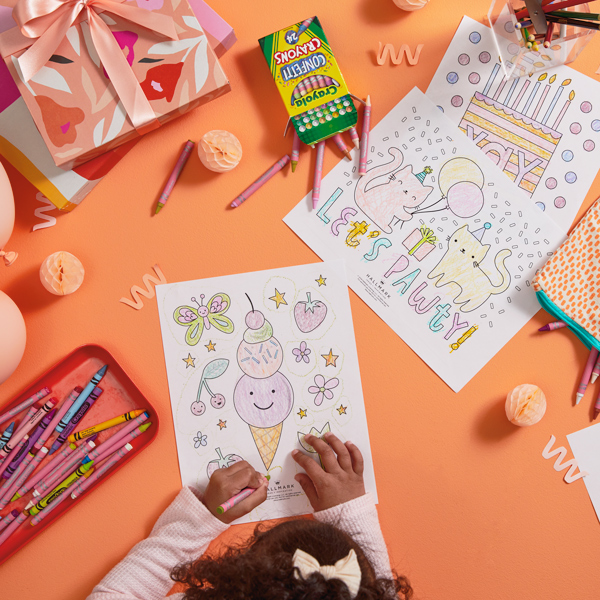
Birthday Free birthday coloring pages to add more fun to the celebration
The best birthdays are the ones filled with lots of little treats and fun activities, from sunup to sundown. If you’r...
-
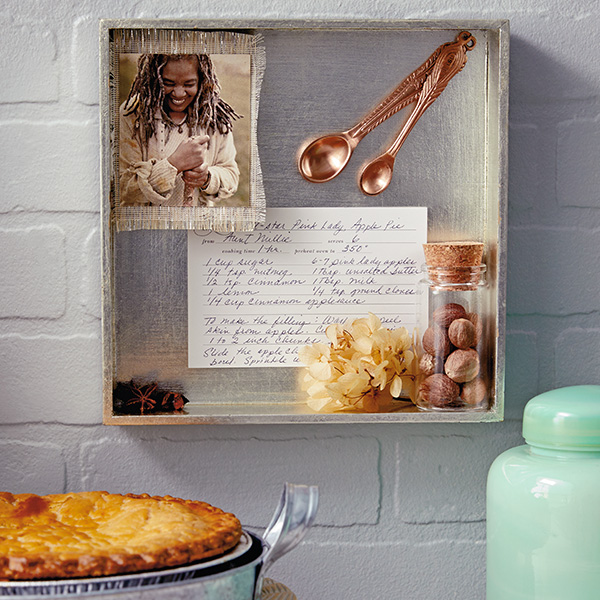
Family Tips and ideas for preserving and displaying family recipes
Family recipes are a special kind of priceless heirloom—the kind that transport us back to our favorite times with ou...
-
Mother's Day Meaningful, personal Mother's Day gift ideas for every mom you know
It can be tough to come up with gift ideas for Mom. Most of us want to give her something meaningful: a gift that sho...
-
Father's Day Celebrating two dads on Father's Day: Tips and ideas inspired by real families
As a dad, I appreciate Father’s Day. Even though my family has never made a really big deal out of it, it’s always so...
-
Thank You 100+ teacher appreciation gift ideas to say “thanks for all you do!”
In 6th grade, my homeroom teacher made us illustrated, laminated bookmarks—each one a custom collage of our interests...
-
Christmas Dr. Finkelstein’s Lab Tree Topper
Fans of Disney Tim Burton’s The Nightmare Before Christmas, we have a frightfully fun new addition for your tree! Kee...
-
Graduation Graduation gift ideas for every level of education
My little brother starts kindergarten this year, and I’m already bracing myself for the tears—mine, not his. I know t...
-
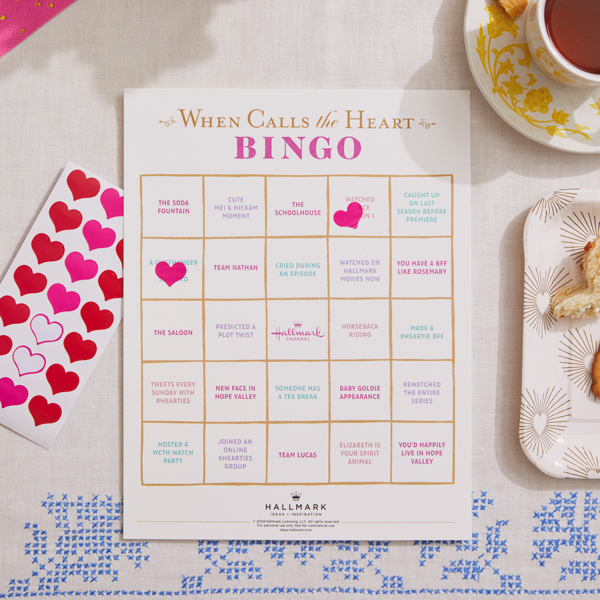
Lifestyle Free printable When Calls the Heart Bingo card to celebrate the Season 11 premiere!
Who's ready for a Heartie Party? You know we are! So much so, we created a bingo card to add a whole extra layer of f...
-
Christmas Star Wars: A New Hope™️ Collection
You don’t have to travel to a galaxy far, far away to experience an epic adventure! Each stocking holder performs sce...
-
Christmas Wreath of Memories Keepsake Ornament
Get a special behind-the-scenes look at how Keepsake Artists Gregor Benedetti and Rob Stanphill collaborated on the d...
-
Christmas Howliday Helpers First in Series Keepsake Ornament
Do you want the inside scoop on an im-paws-ibly cute new series? We’ll throw you a bone—Keepsake Artist Sharon Visker...
-
Christmas Keepsake Ornaments ShowToppers Mini Collection
We’re so excited to introduce our new ShowToppers collection. Featuring three unique designs, each tree topper is int...
-
Christmas Keepsake Ornaments North Pole Village Table Decoration
Keepsake Artist Sharon Visker is here with a special delivery of Christmas magic! Hear how she brought this bustling ...
-
Christmas Harry Potter and the Chamber of Secrets™️ Storytellers Collection
Ready for a little magic? Featuring light, sound and real dialogue from the movie, Harry, Dobby, Ron, Hermione and th...