Holiday Mail Art: 5 Ways to Decorate Christmas Card Envelopes
Holiday mail art is the best: A beautifully decorated Christmas card envelope is a gift. But a long card list might make addressing your envelopes seem like a daunting task instead of a glorious way to spend the evening. So we asked Hallmark artists to come up with easy ways to create hand-lettered envelopes that won’t take you all season long.
Here are five different gorgeous, easy ways to make everyone on your list feel like your very favorite person. And we’ve added bonus tips—the easiest way to add an envelope liner and some DIY confetti ideas.
Inspired? Create and share by tagging @HallmarkStores.
Holiday Mail Art with DIY Stamps
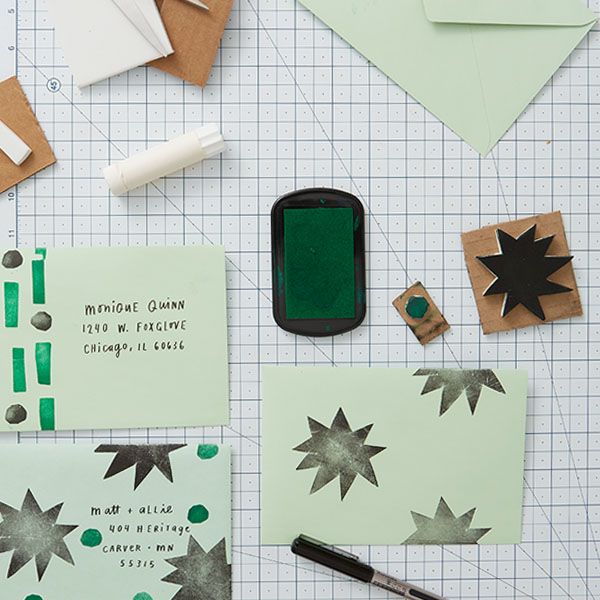
Supplies for making stamps
- Craft foam sheet
- Scrap pieces of cardboard
- Scissors
- Glue
- Crayola brush markers
- Archival ink pad in two colors (or ink brayer and paint)
- Scrap paper or butcher paper (to protect your work surface)
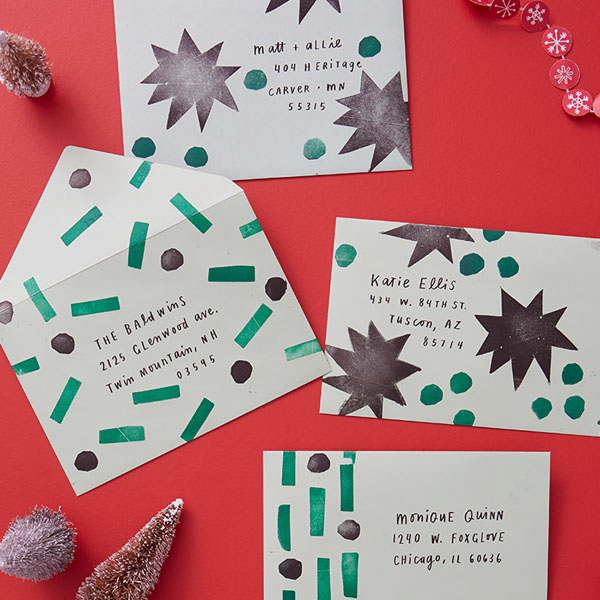
How to stamp envelopes
- Cut simple shapes from the craft foam—try stars or starbursts, circles or blocks.
- Glue the foam shape onto a slightly larger scrap of cardboard.
- Press your stamp onto the ink pad (or use a brayer to apply paint). Practice pressing the stamps on a scrap sheet of paper to get the right amount of pressure and to try different designs.
- Open and flatten the envelope and stamp your designs. Make sure to leave room for the recipient’s name and address on the front and your own return address in the upper left or on the back.
- Let your envelopes dry completely before you address them.
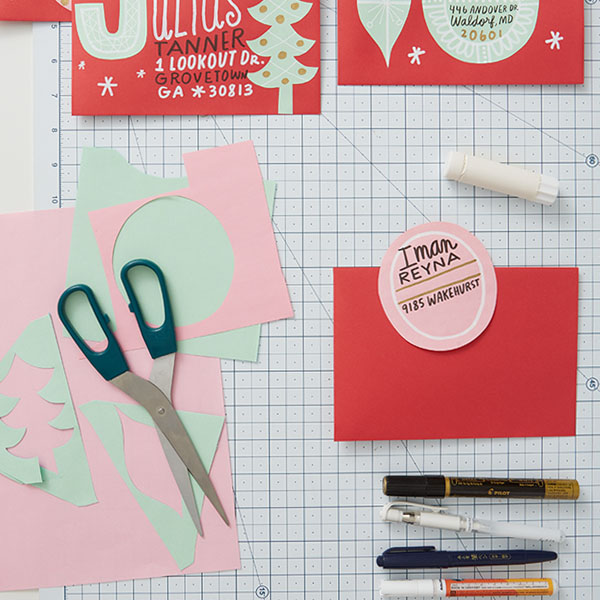
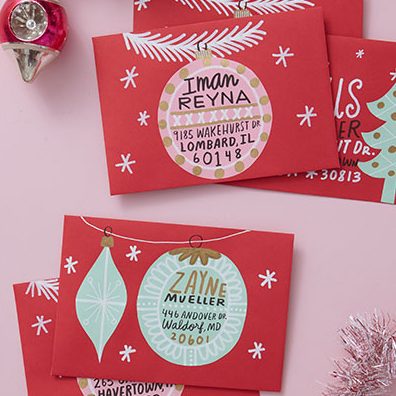
Cut Paper Christmas Mail Art
Supplies for cut paper designs
- Scraps of colored paper or leftover gift wrap
- Scissors
- Glue stick
- Crayola brush markers
- Crayola metallic markers or paint markers
- White paint marker or Crayola silver glitter marker
- White gel pen
How to make cut paper envelope designs
- Cut a super-simple shape from the paper. We made different ornament shapes and trees and tried a few first initials.
- Lay your cut paper out on the envelope to figure out your design.
- If you’re going to write or draw on the paper, do that before you glue it down—that way if you mess up, you don’t ruin the envelope.
- Use the white paint or silver glitter marker to draw simple designs—branches, stars, garland strings—on your envelope.
- Glue down your cut paper then add the address. Don’t forget to put your return address in the upper left or on the back flap.
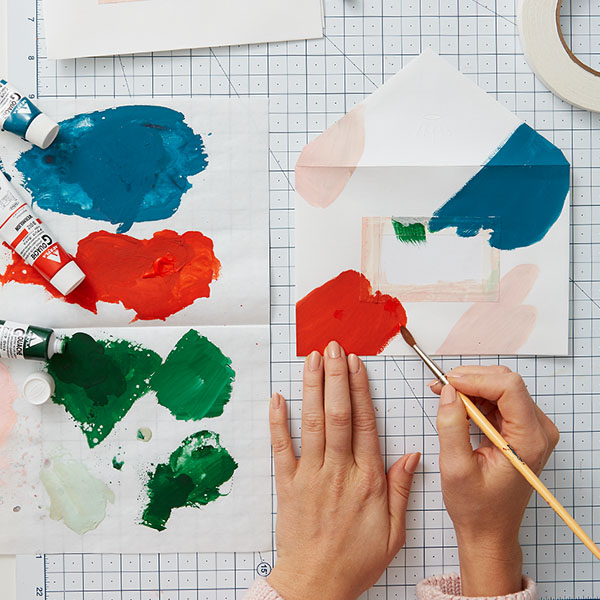
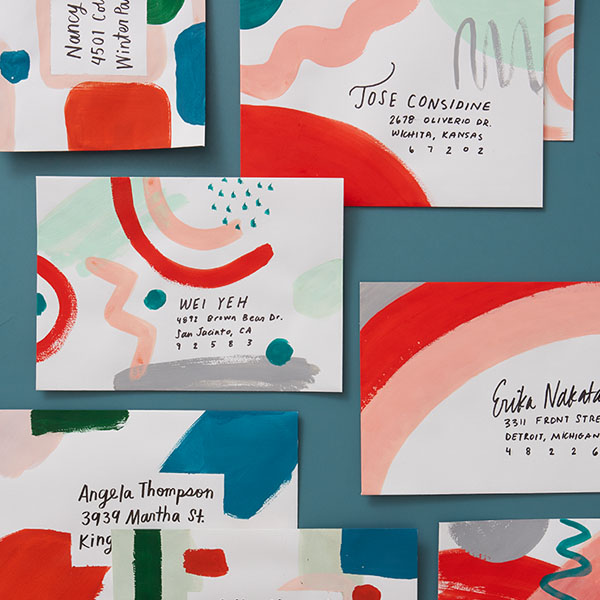
Hand-Painted Holiday Mail Art
Supplies for hand-painted envelopes
- Crayola acrylic paint (we are big believers in a limited color palette—choose 3 colors and use white paint to make lighter shades)
- Paintbrush
- Artist masking tape (“low-tack” means it’s less sticky and won’t rip paper)
- Scissors
- Crayola brush markers
- Scrap card stock or paper
How to make hand-painted mail art
To leave the perfect space for an address:
- Cut a square or rectangle from your scrap piece big enough to write the address. Use the masking tape to stick it to the envelope.
- Paint swatches of color on the envelope—try abstract shapes, swashes or blocks of color, squiggles and lines and dots.
- If you’re going to layer colors, make sure you let one dry before adding another.
- When it’s all completely dry, pull off the tape and paper scrap and add the address.
- With the right pen, you can write the address on a dry swash of color.
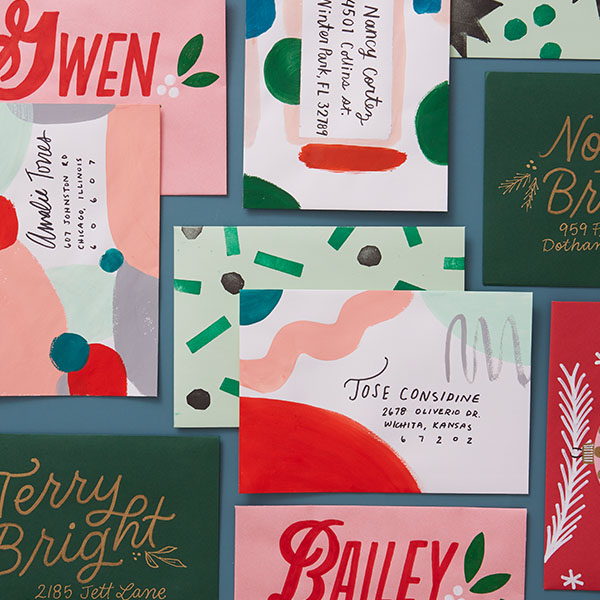
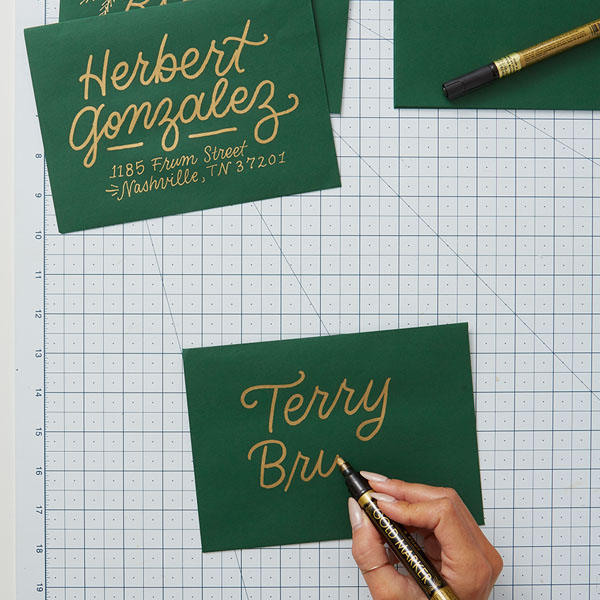
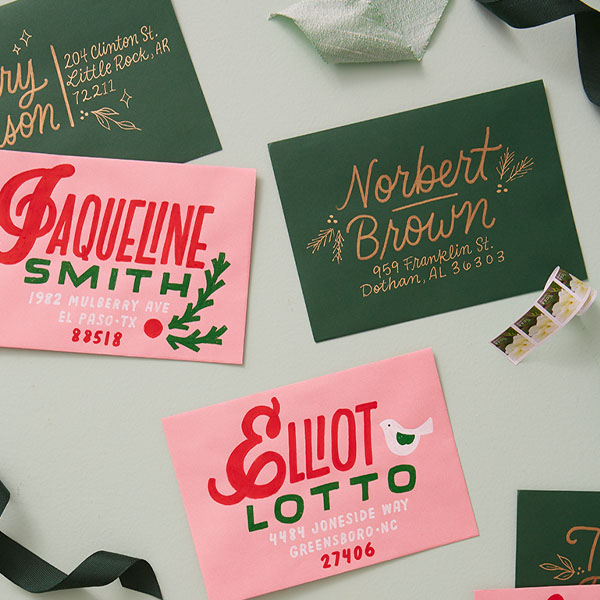
Bold Lettered Envelope Art
Supplies for hand-lettered envelopes
- Crayola Gold Metallic paint markers with bullet-shaped tips—not chiseled or angled—to make lines with a consistent weight (that’s called monoline lettering) or Metallic Markers
- Crayola Signature Metallic Outline Paint Markers & Project Glitter Markers or paint markers in white, red and green (or another fun, limited color palette)
- Pencil
How to create envelopes with bold lettering
- Before you start, lightly sketch out the name and address—and maybe any other designs you want to add. It’s easy to draw pine and holly branches and berries, stars and diamonds, accent marks and simple doves.
- Make the name the star—go big and bold, but don’t forget to leave room for the address. (Unless you’re hand-delivering a card! Then the name can be super huge.)
- Let each color dry before adding the next.
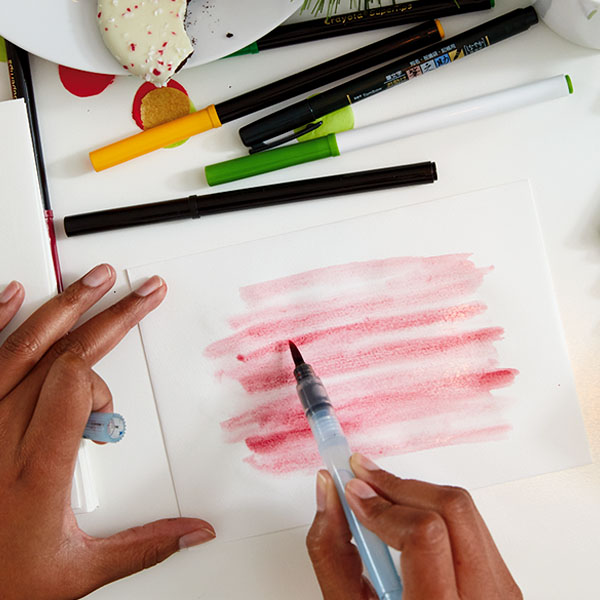
Easy Painted Envelope Backgrounds
Supplies for painted backgrounds
- Crayola Brush Markers or acrylic paint and brushes
- Crayola permanent markers (for addressing)
- Scrap paper
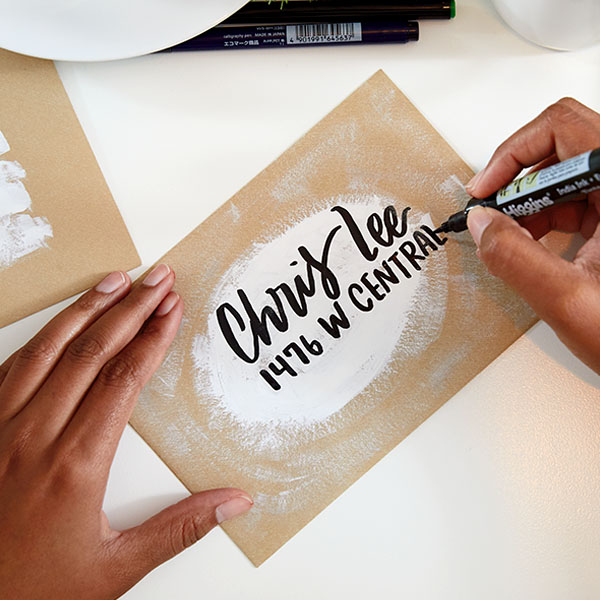
How to paint backgrounds to make addresses stand out
- Play around with techniques and designs—like translucent washes or snowy circles—on scrap paper or extra envelopes. Test the markers you’ll use for addresses on your backgrounds once they dry.
- Slide a piece of paper into your envelope before you paint to prevent bleed-through.
- Paint designs on your envelopes and let them dry.
- Once you’re absolutely positively certain they’re dry, add the addresses with permanent markers.
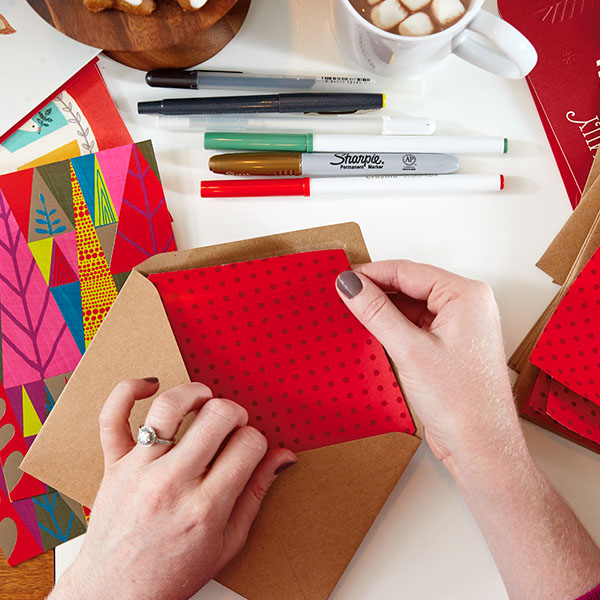
Bonus Tip: Wrapping Paper Envelope Liners
Supplies for wrapping paper envelope liners
- Envelopes
- Wrapping paper
- Ruler
- Scissors or craft knife
- Glue stick
- Optional: Chipboard (cereal boxes are perfect) or poster board for templates
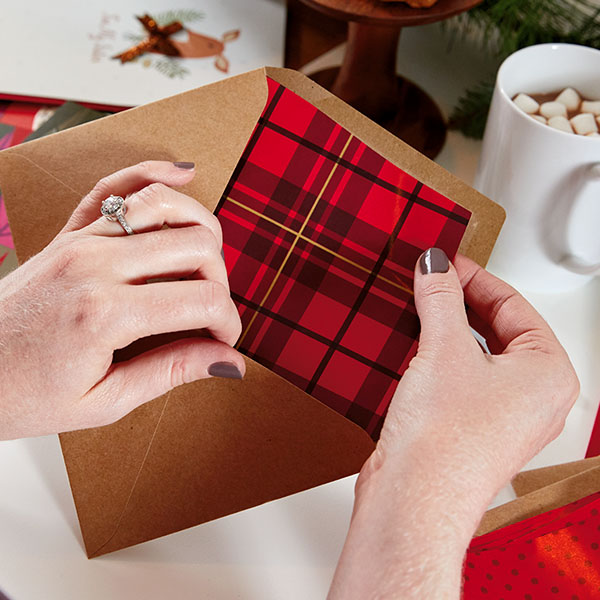
How to add envelope liners
If you’re just doing a few liners, follow the directions below. If you decide to make a whole bunch, make a template using chipboard or poster board (first three steps). Then trace the template onto the wrapping paper and follow the last two steps.
- Open the flap of an envelope and lay it open and flat on the reverse side of a piece of wrapping paper.
- Trace the envelope shape onto the wrapping paper and cut it out.
- Cut a sliver (1/8″ or less) off each side and about 1/2″ off the bottom.
- Slip the liner into the envelope, design up, and close the envelope, creasing the liner.
- Open the envelope and glue the liner in place.

Another Bonus Tip: Christmas Card-fetti
What’s a Christmas card party without confetti? We much prefer the giant kind, cut with paper punches from tissue paper. (Find the easiest DIY tips here.) Sprinkle a few pieces inside a card or use a glue stick to decorate the envelope. Circles are classic and perfect…but snowflakes or trees or other holiday icons would also be pretty great, too.
NOTE: All envelopes shown are decorated with made-up names and addresses so we don’t violate anyone’s privacy.
Shop Christmas
See allYou may also like
See more-

Birthday Free birthday coloring pages to add more fun to the celebration
The best birthdays are the ones filled with lots of little treats and fun activities, from sunup to sundown. If you’r...
-
Family Tips and ideas for preserving and displaying family recipes
Family recipes are a special kind of priceless heirloom—the kind that transport us back to our favorite times with ou...
-
Mother's Day Meaningful, personal Mother's Day gift ideas for every mom you know
It can be tough to come up with gift ideas for Mom. Most of us want to give her something meaningful: a gift that sho...
-
Father's Day Celebrating two dads on Father's Day: Tips and ideas inspired by real families
As a dad, I appreciate Father’s Day. Even though my family has never made a really big deal out of it, it’s always so...
-
Thank You 100+ teacher appreciation gift ideas to say “thanks for all you do!”
In 6th grade, my homeroom teacher made us illustrated, laminated bookmarks—each one a custom collage of our interests...
-
Christmas Dr. Finkelstein’s Lab Tree Topper
Fans of Disney Tim Burton’s The Nightmare Before Christmas, we have a frightfully fun new addition for your tree! Kee...
-
Graduation Graduation gift ideas for every level of education
My little brother starts kindergarten this year, and I’m already bracing myself for the tears—mine, not his. I know t...
-
Lifestyle Free printable When Calls the Heart Bingo card to celebrate the Season 11 premiere!
Who's ready for a Heartie Party? You know we are! So much so, we created a bingo card to add a whole extra layer of f...
-
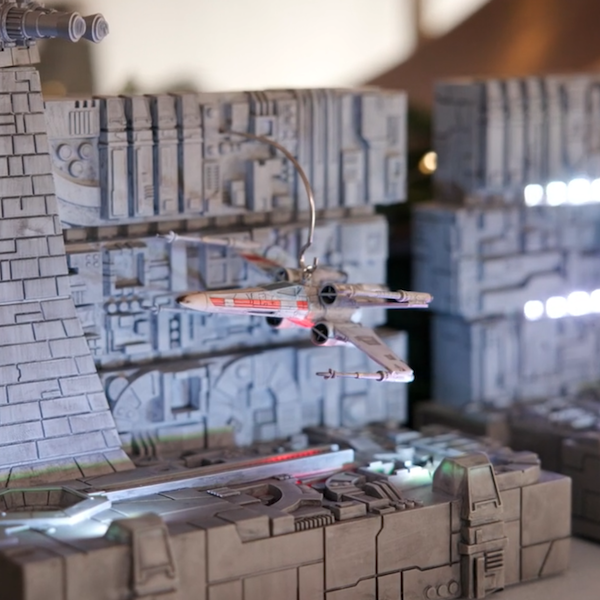
Christmas Star Wars: A New Hope™️ Collection
You don’t have to travel to a galaxy far, far away to experience an epic adventure! Each stocking holder performs sce...
-
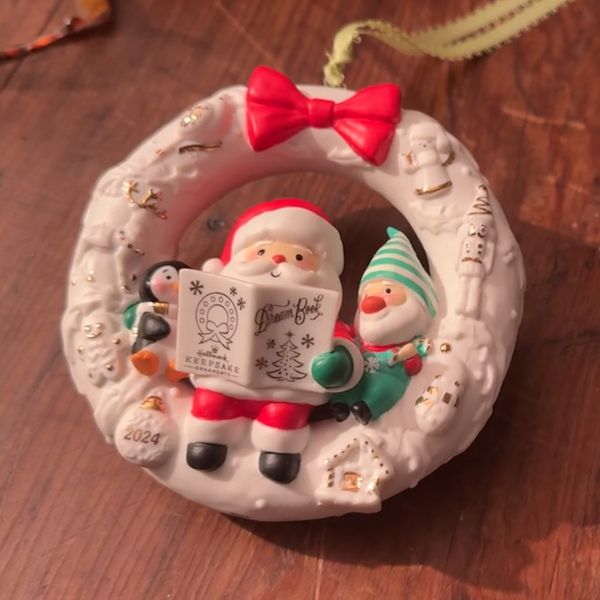
Christmas Wreath of Memories Keepsake Ornament
Get a special behind-the-scenes look at how Keepsake Artists Gregor Benedetti and Rob Stanphill collaborated on the d...
-
Christmas Howliday Helpers First in Series Keepsake Ornament
Do you want the inside scoop on an im-paws-ibly cute new series? We’ll throw you a bone—Keepsake Artist Sharon Visker...
-
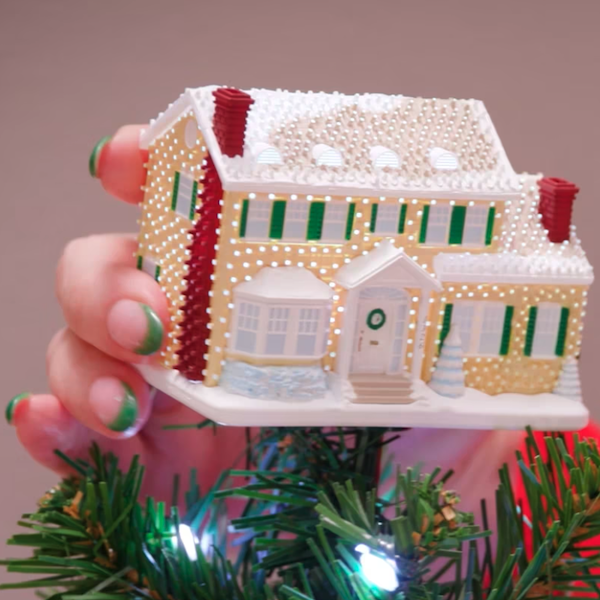
Christmas Keepsake Ornaments ShowToppers Mini Collection
We’re so excited to introduce our new ShowToppers collection. Featuring three unique designs, each tree topper is int...
-
Christmas Keepsake Ornaments North Pole Village Table Decoration
Keepsake Artist Sharon Visker is here with a special delivery of Christmas magic! Hear how she brought this bustling ...
-
Christmas Harry Potter and the Chamber of Secrets™️ Storytellers Collection
Ready for a little magic? Featuring light, sound and real dialogue from the movie, Harry, Dobby, Ron, Hermione and th...
-
Christmas Disney The Haunted Mansion Collection
Welcome, foolish mortals, to the Haunted Mansion! Featuring interactive light, music and dialogue from the classic Di...
-
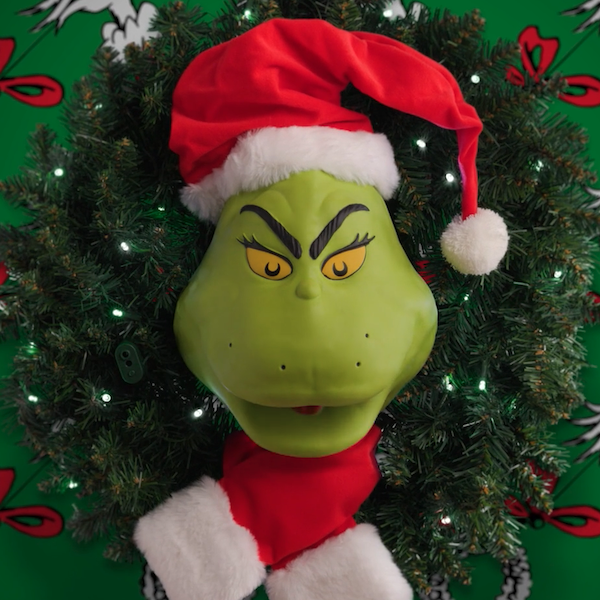
Christmas The Grinch Wreath
This amazing motion-activated wreath may not steal Christmas, but it’ll definitely steal the show! Complete with ligh...
-
Christmas Twelve Days of Christmas First in Series Keepsake Ornament
Watch as Keepsake Artist Gregor Benedetti and Senior Design Technician R.J. Stebbins collaborate on the first ornamen...
-
Christmas Christmas Is… First in Series Keepsake Ornament
Keepsake Artist Tim Bishop didn’t have to go too far to find inspiration for his first Keepsake Ornament series. Duri...
-
Christmas Cup of Cozy First in Series Keepsake Ornament
Sugar and spice and everything nice, that’s what the new Cup of Cozy series is made of! Hear how Keepsake Artist Iman...
-
Arts, Crafts & DIY 9 DIY memory box ideas to keep special days close at heart
Every incredible trip, amazing party and huge milestone comes with its own unique memories and little objects worth h...