Make DIY Pride bracelets and keychains to share
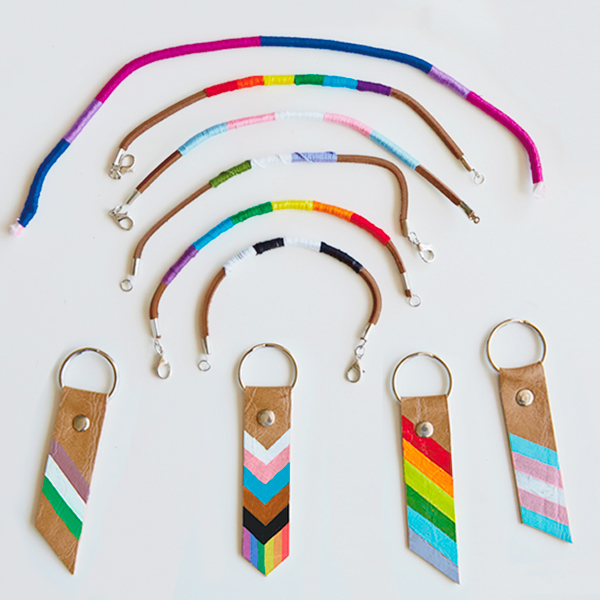
Pride Month is a really excellent excuse for a crafternoon,* so we gathered a group of LGBTQ friends and allies to create some DIY Pride bracelets and keychains. These colorful, easy-to-make accessories are the perfect way to express yourself at a Pride parade or celebrate your identity every day.
*An afternoon spent making stuff with good friends, a good playlist and maybe an adult beverage.
Inspired? Create and share by tagging @HallmarkStores.
DIY Pride Bracelets
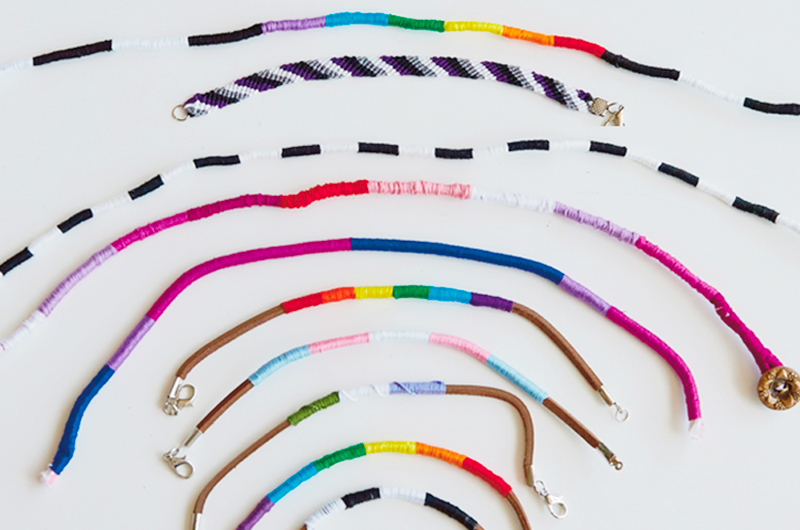
You can make these bracelets for your fabulous self or to show some love to the amazing LGBTQ people in your life.
WHAT YOU’LL NEED
- Embroidery floss: In a literal rainbow of colors.
- Craft glue: You’ll just need a few dabs for each bracelet.
- Embroidery needle
- Leather or suede lace/cord: Craft stores carry it in a variety of widths, colors and lengths.
- Cord ends with lobster claw clasps: Make sure they fit your lace/cord.
- Scissors
- Pliers
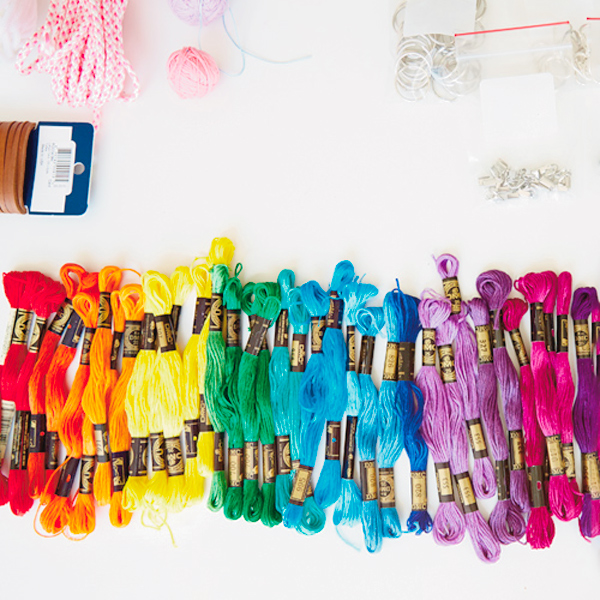
Step One
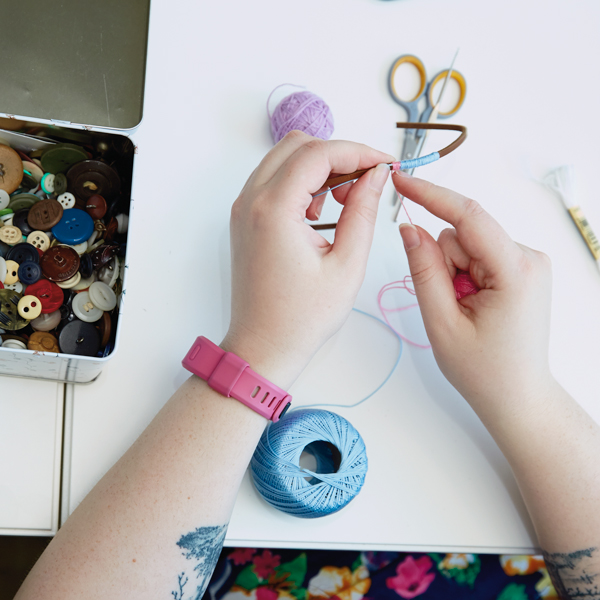
Gather up all your colored embroidery floss and lay it out in the order you’re planning to wrap it.
A quick online search will turn up designs for all the different LGBTQ flags and the meanings of each color. But the classic Pride rainbow is just the beginning—add black, brown, white, blue and pink floss to make the Progress Pride Flag.
Step Two
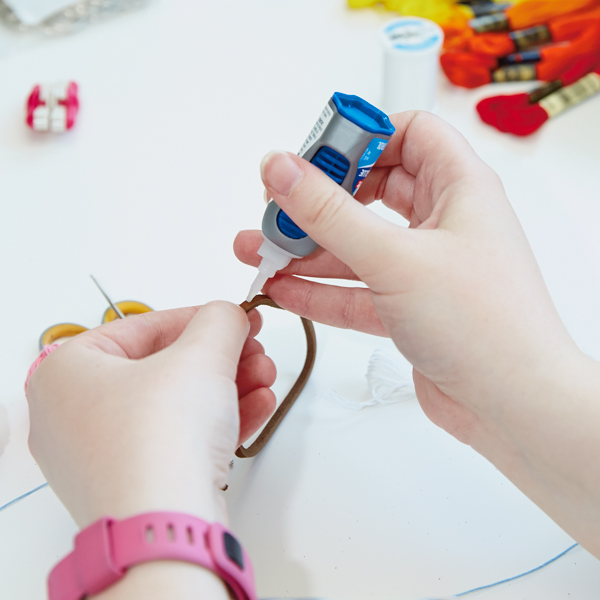
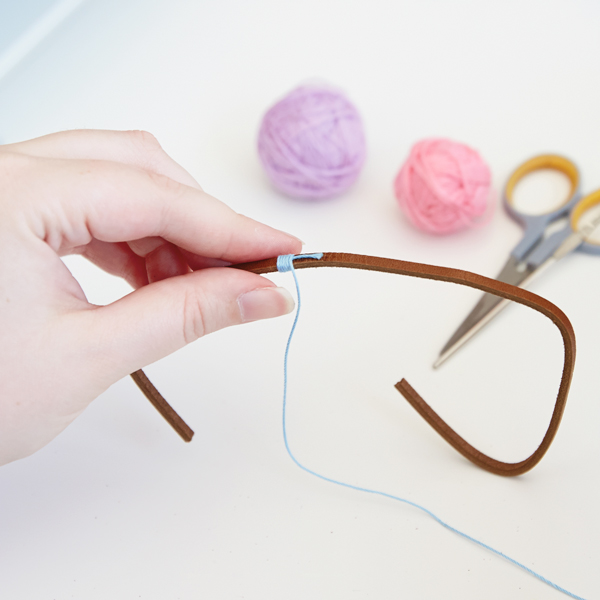
Measure and cut the cord. To figure out how long your piece of cord will need to be, unravel a bit of it from the spool and wrap it around your wrist, ankle or neck, making it as loose or snug as you prefer. (Get a friend to help if needed.)
Hold the measurement with your fingers while you lay the cord down on your work surface, then cut. Note that if you have long cord ends or clasps, you may need to trim off a bit of cord.
Put a dot of glue about a half-inch from the end of the cord to secure the embroidery floss.
Pro tip
Make the leather lace or suede cord part of the design by letting more of it show.
Step Three
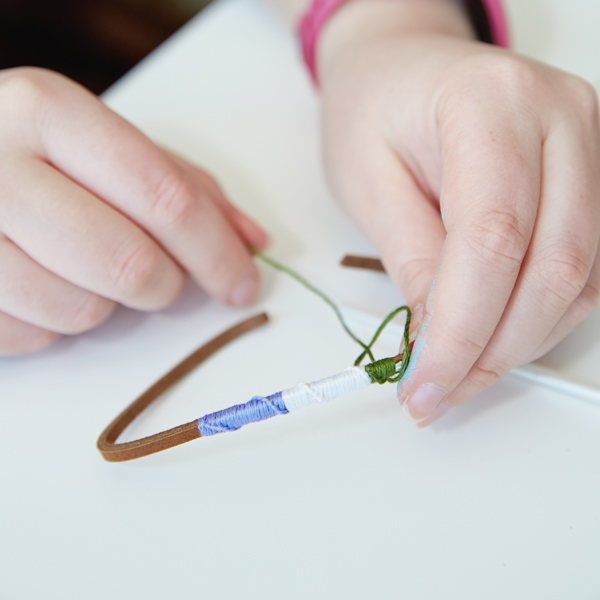
Wrap your first color. Secure the end of the floss on the dot of glue. Wrap the floss tightly around the cord to make a band of color.
Step 4
Add the next color. If you’re finished with your first color, use another dot of glue to hold that floss and your next color down, and start wrapping. Snip the first color once it’s secured by the second. If you’re repeating colors, don’t cut the floss. Just wrap over it with the new color, then switch threads when you’re ready.
Step 5
Finish your design. To wrap things up, thread your final color onto an embroidery needle. Push the needle under a half inch or more of the wrapped floss then out, and carefully snip the thread.
Pro tip
If the wrapped thread looks loose anywhere, add the smallest dabs of glue to hold it down. You can do the same thing at each end of the design for extra hold.
Want to try other types of friendship bracelets? Find instructions here.
DIY Pride Keychains
You can never have too many keychains: main keys, backup keys, dogwalker keys, house sitter keys, garden shed keys, gym locker keys…
WHAT YOU’LL NEED
- Leather strap, 1/2″ to 3/4″ wide
- Scissors or craft knife
- Craft glue
- Leather rivet kit
- Small hammer
- 1″ key ring
- Fineline masking tape (or non-glittery washi tape)
- Acrylic paint
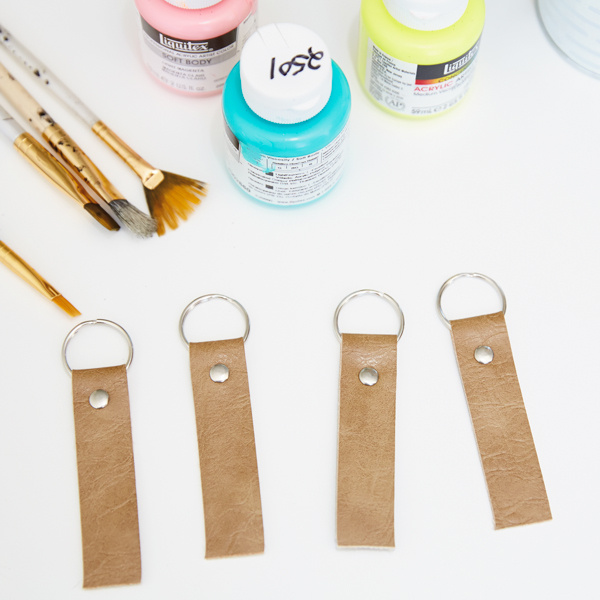
Step One
Measure your leather and make the keychain. Cut a piece of leather strap twice as long as you’d like the finished design.
Fold the leather in half over the keyring and add a little glue between the flaps to hold them in place. Use the punch tool to make a hole in the leather, then set the rivet.
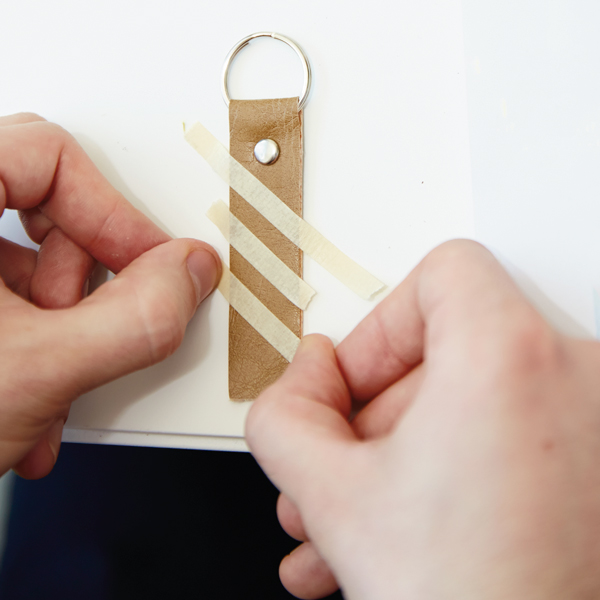
Step Two
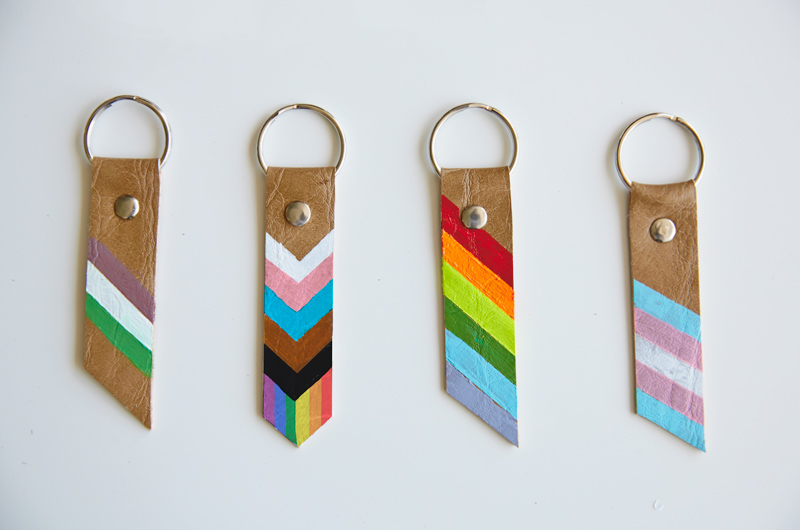
Plan your design. Use the tape to mask off stripes—we liked diagonal and chevron designs.
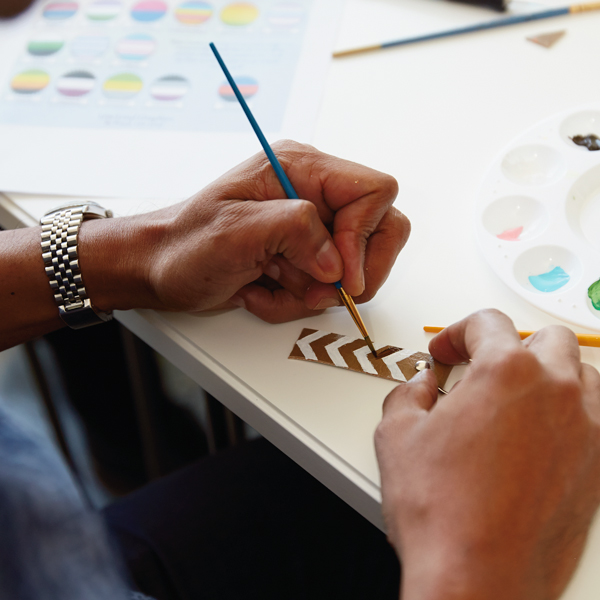
Step Three
Paint the rainbow. Add your colors, letting each dry completely before painting the next. Once all colors are dry, remove the tape.
